
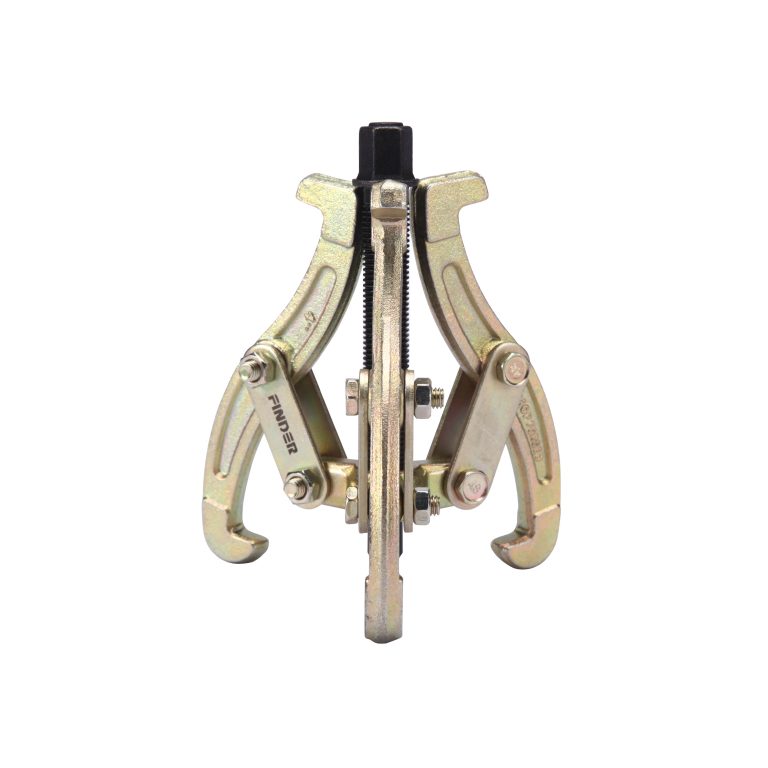
The correct method to use a 3-Jaw Puller is as follows:
1.Installation
Insert the three claw puller into the ball socket hole on the working surface.
Rotate the pull rod to open the three claws, so that the workpiece can be clamped between the three claws.
Adjust the clamping force appropriately to ensure that the workpiece is firmly clamped.
2.Operation
First, determine the alignment position between the ball socket hole on the working surface and the center of the three claw puller.
Rotate the lever to open the three claws to the appropriate position.
Place the workpiece between the three claws, then rotate the pull rod to clamp the workpiece between the three claws.
Continue to rotate the pull rod and adjust the clamping force to ensure that the workpiece is clamped more firmly.
3.Precautions
Before use, the threads on the pull rod should be checked for tightness to prevent loosening.
When clamping workpieces with high precision, the clamping mouth of the three claws and the contact surface of the workpiece should be cleaned first to ensure clamping accuracy.
For smaller workpieces, special fixtures may need to be made to prevent the workpiece from sliding or swinging.
When clamping, the three claws should be clamped in the central area of the workpiece to ensure a uniform distribution of clamping force.
Do not forcefully rotate the pull rod in emergency situations to avoid damaging the three claw puller.