
Embark on a journey of empowerment through engaging in DIY projects. Discover the remarkable versatility of the baseboard cutting tool and unlock your potential to transform your living space. This blog provides a comprehensive overview of essential techniques to elevate your home improvement skills.
Choosing the Right Tool
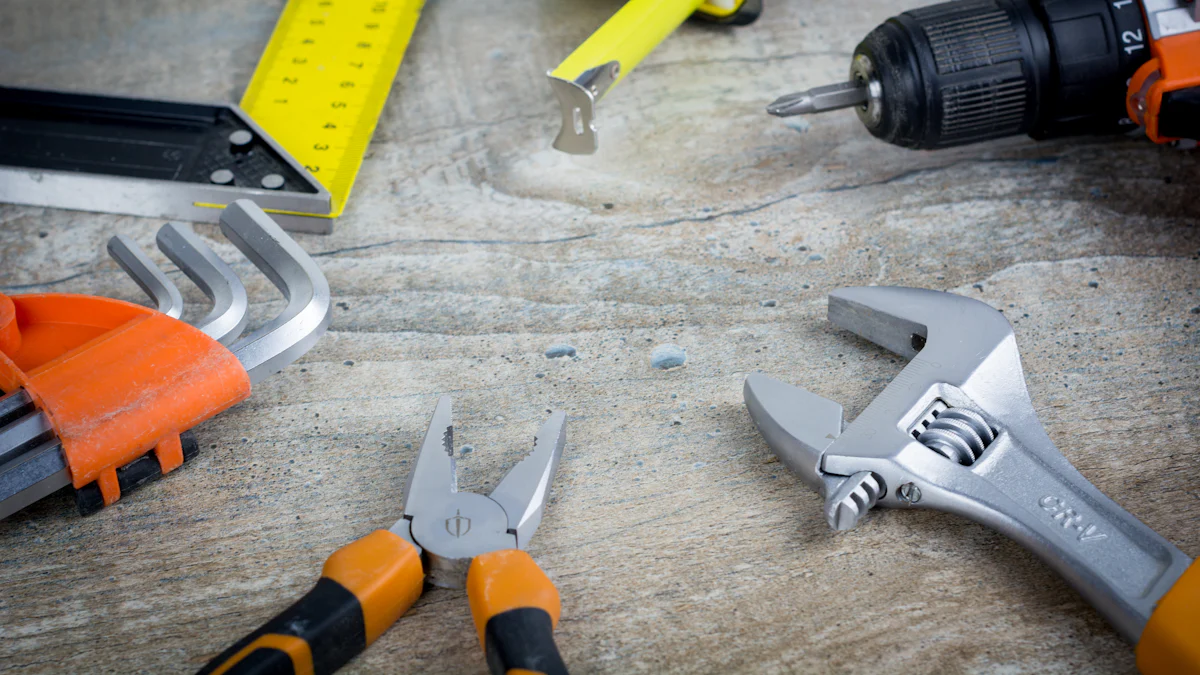
When it comes to baseboard cutting tools, selecting the appropriate one is crucial for achieving precise and efficient results. Let’s delve into the essential aspects of these tools to help you make an informed decision.
Understanding the Baseboard Cutting Tool
To begin, familiarize yourself with the oscillating tool basics. This versatile device can handle a variety of tasks, including cutting, sanding, and scraping. Understanding its capabilities will enable you to maximize its potential for your baseboard cutting needs. Additionally, explore different blade types available for oscillating tools. Each blade serves a specific purpose, so choosing the right one is key to achieving clean and accurate cuts.
Essential Features
Consider the power and speed settings of the tool before making a cut. Adjusting these settings according to the material and thickness of the baseboard ensures optimal performance. Moreover, prioritize ergonomics and safety features when selecting a baseboard cutting tool. A comfortable grip and safety mechanisms not only enhance user experience but also promote safe usage practices.
Preparing for the Cut
When it comes to embarking on your baseboard cutting journey, preparation is key to ensuring a successful outcome. Let’s delve into the essential steps you need to take before making that precise cut.
Gathering Materials
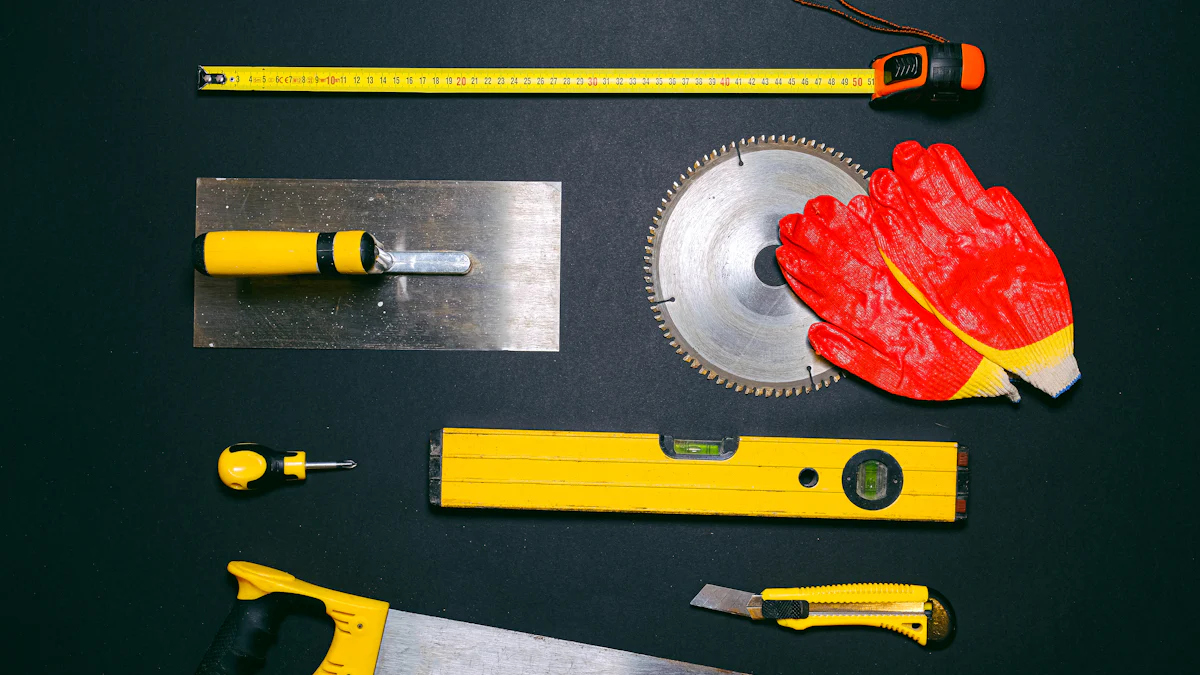
Begin by gathering your materials in an organized manner. Start with measuring tools to accurately assess the dimensions of the baseboard trim. A reliable measuring tape will be your best ally in this process, providing you with the exact measurements needed for a seamless cut. Additionally, don’t forget about safety gear. Prioritize your well-being by equipping yourself with safety glasses and gloves to protect against any potential hazards during the cutting process.
Setting Up the Workspace
Creating an optimal workspace is crucial for a smooth cutting experience. Marking the cut line accurately on the baseboard trim ensures precision in your cuts. Use a pencil or marking tool to outline where you will make your incision, guiding you towards a flawless result. Once marked, focus on securing the baseboard in place before operating your cutting tool. This step guarantees stability and safety throughout the cutting process, allowing you to work with confidence and accuracy.
Cutting Techniques

Making the Cut
Proper Cutting Angle
To ensure precise cuts, position the oscillating tool at a 45-degree angle to the baseboard trim. This angle allows for efficient cutting without splintering or damaging the material. By maintaining a consistent angle throughout the cut, you’ll achieve clean and professional results every time.
Controlling the Tool
Maintain a steady grip on the oscillating tool while making your cut. Apply gentle pressure and let the tool do the work as you guide it along the marked cut line. Avoid rushing the process and focus on smooth, controlled movements to prevent any mistakes or uneven cuts. Remember, practice makes perfect, so take your time to master this essential technique.
Finishing Touches
Smoothing Edges
After completing the cut, use sandpaper to smooth out any rough edges left behind. Gently sand along the trimmed area to create a seamless finish that blends effortlessly with your existing baseboard trim. This step not only enhances the overall appearance but also ensures a professional-looking result that showcases your attention to detail.
Cleaning Up
Once you’ve achieved your desired cut and finish, it’s time to tidy up your workspace. Remove any debris or dust created during the cutting process using a damp cloth or vacuum cleaner. A clean workspace not only promotes safety but also allows you to admire your handiwork without distractions. Take pride in your accomplishment and revel in the satisfaction of mastering baseboard cutting techniques like a pro!
Recap the crucial steps in choosing the right baseboard cutting tool. Remember, practice is key to mastering DIY skills. Embrace the benefits of cost-effectiveness and personal achievement through DIY projects. Younger DIYers are motivated by savings and the opportunity to enhance their living spaces independently. Budget constraints often drive homeowners to take on projects themselves, showcasing their determination and creativity. The data reflects a consistent trend of homeowners following through with their DIY plans, highlighting the satisfaction and fulfillment derived from hands-on home improvement endeavors.