

Hand hewing logs involves converting a full log into one or more flat surfaces using traditional tools. This ancient craft holds significant historical value, as early settlers relied on it to create sturdy structures. The process demands skill and patience, making it a rewarding endeavor for dedicated craftsmen.
“Before modern electric tools came into the picture, craftsmen relied on tools like broad axes and adzes to chop and shape beams.”
The author’s personal journey in hand hewing began with a desire to connect with traditional methods. The use of hand hewn log tools like the adze and broad axe has provided a deeper appreciation for the craftsmanship of the past.
Understanding Hand Hewing
History and Tradition
Origins of Hand Hewing
Hand hewing dates back to ancient times when early humans began shaping logs for construction. Craftsmen used hand hewn log tools like broad axes and adzes to create flat surfaces on round logs. This method provided the foundation for building sturdy structures. The Mid-Pleistocene era saw the invention of hafting, which enhanced efficiency in chopping and scraping.
“Peter Gott developed a hewing technique using accurate guidelines for hewing surfaces.”
This technique ensured good results and facilitated detailed refinements like notch work and mortise-and-tenon joints.
Evolution Over Time
By the 18th century, hand hewing had evolved significantly. Craftsmen incorporated tools such as saws, drawknives, and hewing axes into their repertoire. The process required precision and skill to achieve smooth and squared surfaces. Jack Sobon, in his book ‘Hand Hewn,’ explores the historical perspectives and techniques of timber framing. Sobon advocates for the charm and practicality of building with rough timbers using traditional methods.
Tools and Materials
Essential Tools
Hand hewing requires specific hand hewn log tools to achieve the desired results. The primary tools include:
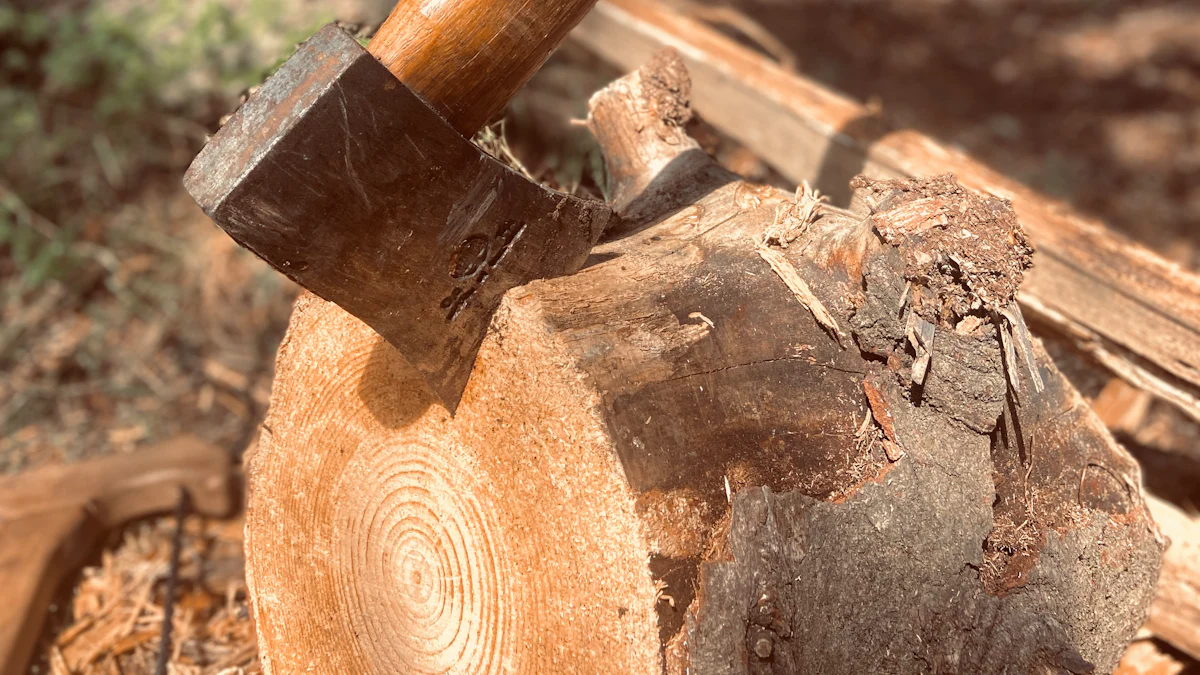
- Broad Axe: Used for chopping and shaping beams.
- Adze: Essential for smoothing and refining the surface.
- Hewing Axe: Ideal for squaring the sides of timbers.
- Drawknife: Useful for removing bark and making finer adjustments.
Each tool serves a unique purpose in the hand hewing process. Proper maintenance of these tools ensures longevity and effectiveness.
Selecting the Right Logs
Choosing the right logs is crucial for successful hand hewing. Craftsmen must consider the type of wood, grain pattern, and overall condition of the log. Hardwoods like oak and maple provide durability and strength. Softwoods like pine and cedar offer ease of handling and a smoother finish. Examining the beam in good light ensures all grain patterns are visible, aiding in precise cuts.
Safety Precautions
Proper Gear
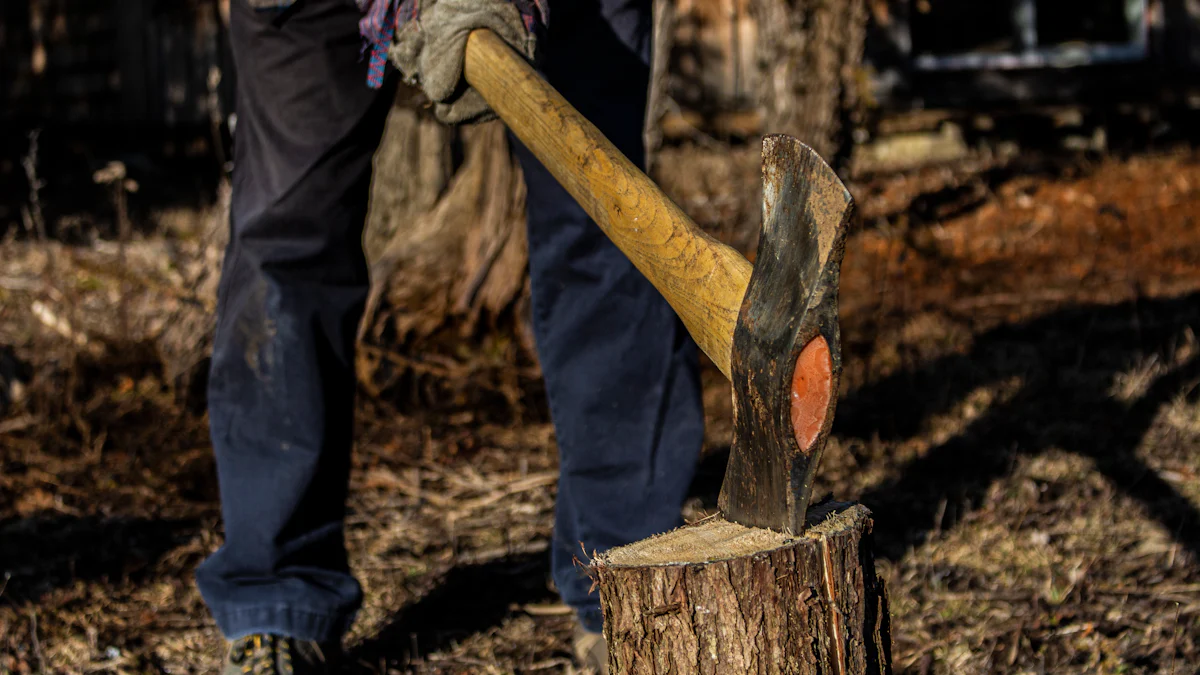
Safety is paramount when working with hand hewn log tools. Essential safety gear includes:
- Protective Gloves: Prevents cuts and abrasions.
- Safety Glasses: Shields eyes from flying debris.
- Sturdy Boots: Provides stability and protection for feet.
- Hearing Protection: Reduces noise exposure from chopping and cutting.
Wearing the proper gear minimizes the risk of injury and ensures a safer working environment.
Safe Handling Techniques
Safe handling techniques are vital when using hand hewn log tools. Always maintain a firm grip on the tool and ensure a stable stance. Keep the work area clear of obstacles to prevent tripping. Regularly inspect tools for any damage or wear. Sharpen blades to maintain efficiency and reduce the effort required for each cut.
“Hand hewing is a strenuous and demanding task that requires proper technique and focus.”
Despite the challenges, achieving a smooth timber through hand hewing is rewarding.
Preparing for Hand Hewing
Selecting and Preparing Logs
Choosing the Right Tree
Selecting the right tree forms the foundation of successful hand hewing. Craftsmen must consider the type of wood, grain pattern, and overall condition of the tree. Hardwoods like oak and maple offer durability and strength. Softwoods like pine and cedar provide ease of handling and a smoother finish. A thorough examination of the tree in good light ensures visibility of all grain patterns, aiding in precise cuts.
“The first step of hand-hewing involves carefully laying out lines down the end of the timber-to-be using a level and a pencil.”
Debarking and Cleaning
Before logs can be hewn, the bark must be removed. Using a spud bar and a shovel, craftsmen can efficiently debark the logs. This process exposes the wood and prepares it for further shaping. Stabilizing the logs with wedges ensures they remain steady during the hewing process. Marking the logs for hewing follows, ensuring accurate and consistent cuts.
Setting Up Your Work Area
Creating a Stable Work Surface
A stable work surface is crucial for effective hand hewing. Positioning the log on a firm, flat surface minimizes movement and enhances precision. Using wedges or other stabilizing tools can secure the log in place. This stability allows for more controlled and accurate cuts, reducing the risk of errors.
Organizing Tools and Materials
Proper organization of hand hewn log tools and materials streamlines the hewing process. Essential tools include:
- Broad Axe: For chopping and shaping beams.
- Adze: For smoothing and refining surfaces.
- Hewing Axe: For squaring the sides of timbers.
- Drawknife: For removing bark and making finer adjustments.
Arranging these tools within easy reach enhances efficiency. Regular inspection and maintenance of tools ensure their longevity and effectiveness.
“Start at one end of the log and work forward, removing a thin shaving of wood with each short, downward stroke of the broadax until you reach the hewing line.”
The Hand Hewing Process
Marking and Measuring
Laying Out the Hewing Lines
Accurate marking forms the backbone of effective hand hewing. Craftsmen start by laying out hewing lines on the log. Using a chalk line or a pencil ensures clear visibility. The lines guide the cuts, ensuring precision throughout the process. Master woodworker Roy Watson emphasizes the importance of straight guidelines for achieving smooth surfaces.
“The first step of hand-hewing involves carefully laying out lines down the end of the timber-to-be using a level and a pencil.”
Measuring for Consistency
Consistency in measurements guarantees uniformity in the final product. Craftsmen use measuring tools like calipers and rulers to ensure even thickness along the log. Regularly checking measurements prevents deviations. This practice maintains the structural integrity of the hewn timber.
Rough Hewing
Initial Cuts
The initial cuts remove large sections of wood, shaping the log into a rough beam. Craftsmen use hand hewn log tools like broad axes for this task. The broad axe allows for deep, controlled cuts. Each stroke follows the marked lines, gradually transforming the log’s shape.
Removing Large Sections
Removing large sections requires skill and strength. Experienced hand hewers like Gary Campbell recommend maintaining a steady rhythm. This approach minimizes fatigue and enhances efficiency. The goal is to create a roughly squared beam, ready for finer adjustments.
Fine Hewing
Smoothing the Surface
Fine hewing involves smoothing the surface of the rough beam. Craftsmen use adzes to achieve a refined finish. The adze removes smaller wood shavings, creating a smoother texture. Consistent strokes ensure an even surface, enhancing the beam’s aesthetic appeal.
“Peter Gott developed a hewing technique using accurate guidelines for hewing surfaces.”
Final Adjustments
Final adjustments perfect the beam’s shape and finish. Craftsmen use drawknives for precise trimming. This tool allows for detailed refinements, ensuring the beam meets exact specifications. Regular inspection during this stage ensures the highest quality of workmanship.
Tips and Techniques for Mastery
Improving Efficiency
Time-Saving Tips
Efficiency in hand hewing can significantly enhance productivity. Experienced craftsmen recommend several time-saving tips:
- Pre-plan the work: Organize tools and materials before starting. This reduces downtime.
- Sharpen tools regularly: Sharp tools cut more efficiently. Regular maintenance of hand hewn log tools like broad axes and adzes ensures smoother cuts.
- Use proper techniques: Employing correct hewing techniques minimizes effort. For instance, maintaining a steady rhythm while cutting helps in reducing fatigue.
- Work in good light: Proper lighting reveals grain patterns clearly. This aids in making precise cuts.
“Jack Sobon, in his book ‘Hand Hewn,’ emphasizes the importance of working with sharp tools and good lighting to achieve the best results.”
Common Mistakes to Avoid
Avoiding common mistakes can save time and improve the quality of the work:
- Incorrect tool usage: Using the wrong tool for a task can lead to inefficiency. Each tool has a specific purpose.
- Ignoring safety precautions: Neglecting safety measures can result in injuries. Always wear protective gear.
- Inconsistent measurements: Failing to measure accurately can lead to uneven surfaces. Regularly check measurements for consistency.
- Rushing the process: Speeding through the work can compromise quality. Take time to ensure precision.
“Gary Campbell advises against rushing the process, as it often leads to mistakes that require more time to fix.”
Advanced Techniques
Decorative Hewing
Decorative hewing adds aesthetic value to timber structures. Craftsmen use various techniques to create intricate designs:
- Chamfering edges: Beveling the edges of beams creates a refined look. This technique involves using a drawknife to shave off corners.
- Carving patterns: Carving decorative patterns into the wood enhances visual appeal. Adzes and chisels are ideal for this task.
- Texturing surfaces: Adding texture to the surface of beams gives a rustic appearance. This can be achieved by varying the depth and angle of cuts.
“Peter Gott developed a hewing technique that includes decorative elements, adding unique character to each beam.”
Customizing Log Shapes
Customizing log shapes allows for creative and functional designs. Craftsmen can tailor logs to specific needs:
- Tapering beams: Creating tapered beams involves gradually reducing the width of the log. This technique is useful for creating structural elements like rafters.
- Curved logs: Shaping logs into curves adds a dynamic element to structures. This requires careful planning and precise cuts.
- Notching: Notching logs allows for interlocking joints, providing stability. This technique is essential for constructing log cabins.
“Legendary architect Jack Sobon showcases various customized log shapes in his projects, demonstrating the versatility of traditional hand hewing methods.”
Mastering hand hewing logs offers immense satisfaction and a deep connection to traditional craftsmanship. The journey requires dedication, skill, and patience, but the rewards are unparalleled. Practicing regularly will refine techniques and build confidence.
“Hand-crafting a timber requires a combination of skill and strength. The challenge of using simple hand-tools to create square, smooth timbers both humbled and inspired me.”
Encouraging others to share personal experiences and tips can foster a community of passionate craftsmen. Engaging with fellow enthusiasts will enhance learning and appreciation for this timeless craft.
See Also
Supreme Handbook for Warm Winter with Cozy Fleece Socks
Discovering the Range of Socks for Males and Females