
O2 sensors play a crucial role in monitoring the air-fuel mixture in vehicles. These sensors ensure that engines run efficiently and reduce harmful emissions. An O2 sensor wrench becomes essential when you need to replace or maintain these sensors. This specialized tool allows you to remove and install O2 sensors without damaging them. Using the wrench effectively ensures proper vehicle maintenance and avoids costly repairs. Mastering the use of an O2 sensor wrench can save time and effort, making it a valuable skill for any car owner.
Preparing for the Task
Getting ready to use an O2 sensor wrench involves some preparation. You need to gather the right tools and understand the vehicle’s O2 sensor system. This ensures a smooth and successful process.
Gathering Necessary Tools and Materials
Start by collecting all the necessary tools. You will need a 7/8” or 22 mm oxygen sensor socket and a corresponding ratchet. A 7/8” or 22 mm wrench will also come in handy. A flat tip screwdriver and wire cutters are essential for removing any obstructions. A torque wrench is crucial for tightening the new sensor to the correct specifications. Don’t forget the anti-seize compound, which helps prevent the new sensor from sticking in the future. Finally, have a replacement sensor ready.
Safety should always be a priority. Wear safety goggles to protect your eyes from debris. Gloves will keep your hands safe from cuts and burns. Make sure you have a fire extinguisher nearby in case of emergencies.
Understanding the Vehicle’s O2 Sensor System
Knowing where the O2 sensor is located in your vehicle is important. Most vehicles have the O2 sensor near the exhaust manifold or along the exhaust pipe. Check your vehicle’s manual if you’re unsure about the exact location.
The O2 sensor plays a vital role in your vehicle. It monitors the air-fuel mixture and sends data to the engine control unit. This information helps the engine run efficiently and reduces emissions. A faulty O2 sensor can lead to poor fuel economy and increased emissions. Understanding its function highlights the importance of using the O2 sensor wrench effectively.
Finding the Error and Securing the Vehicle
Diagnosing O2 Sensor Issues
Diagnosing an O2 sensor issue can save you a lot of trouble. Faulty O2 sensors often show some common symptoms. You might notice poor fuel economy or a rough idle. The check engine light might also turn on. These signs suggest that the O2 sensor needs attention.
Using diagnostic tools can help confirm the problem. An OBD-II scanner is a handy tool for this task. Connect the scanner to your vehicle’s diagnostic port. The scanner will read error codes related to the O2 sensor. This step helps pinpoint the exact issue. Tester, an automotive expert, suggests checking the sensor while it’s in the car. This method gives a more accurate picture of its performance.
Safely Securing the Vehicle
Safety comes first when working on your vehicle. Start by parking on a flat surface. A level ground ensures stability during maintenance. Avoid slopes or uneven surfaces to prevent accidents.
Use wheel chocks and jack stands for added security. Place wheel chocks behind the tires to stop any movement. Jack stands provide solid support when lifting the vehicle. Never rely solely on a jack for support. Properly securing the vehicle creates a safe working environment.
Removing the Old Sensor
Removing an old O2 sensor can seem daunting, but with the right steps, it becomes manageable. You’ll need to access the sensor and use your trusty O2 sensor wrench effectively.
Accessing the O2 Sensor
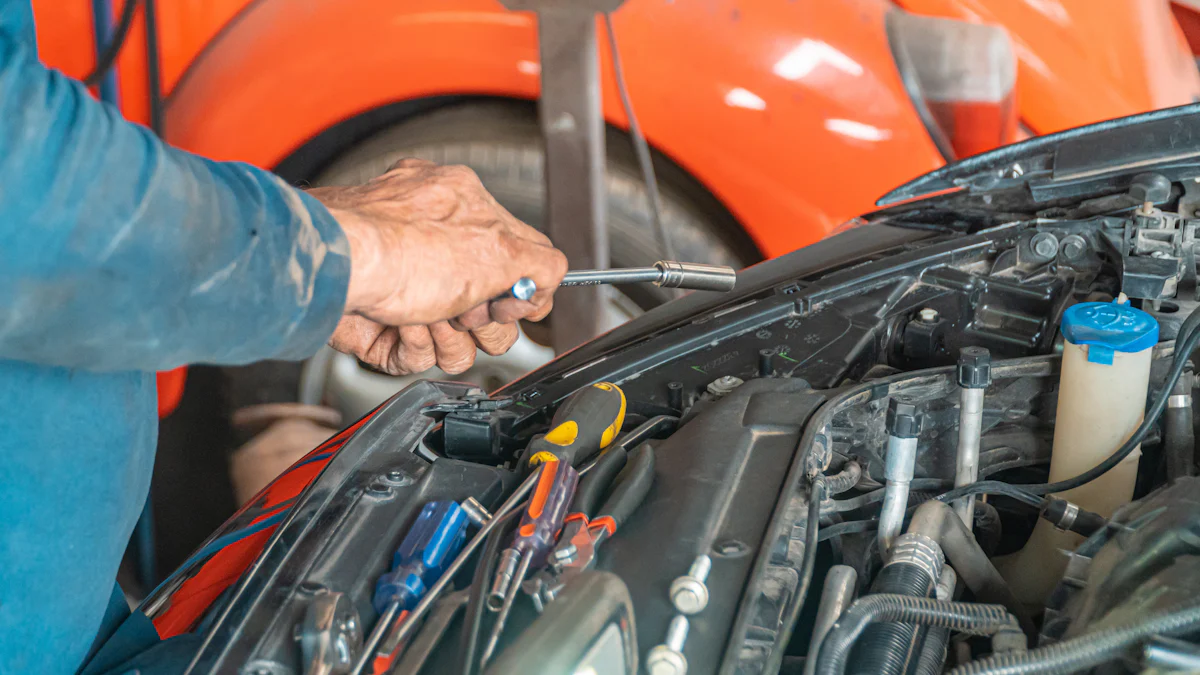
First, you need to locate the O2 sensor in your vehicle. Most vehicles have the sensor near the exhaust manifold or along the exhaust pipe. Check your vehicle’s manual for the exact location if you’re unsure. Once you’ve found the sensor, you might encounter obstructions. These could be wires or other components blocking your access. Use a flat tip screwdriver to carefully remove any obstructions. This step ensures you have a clear path to the sensor, making the removal process smoother.
Using the O2 Sensor Wrench
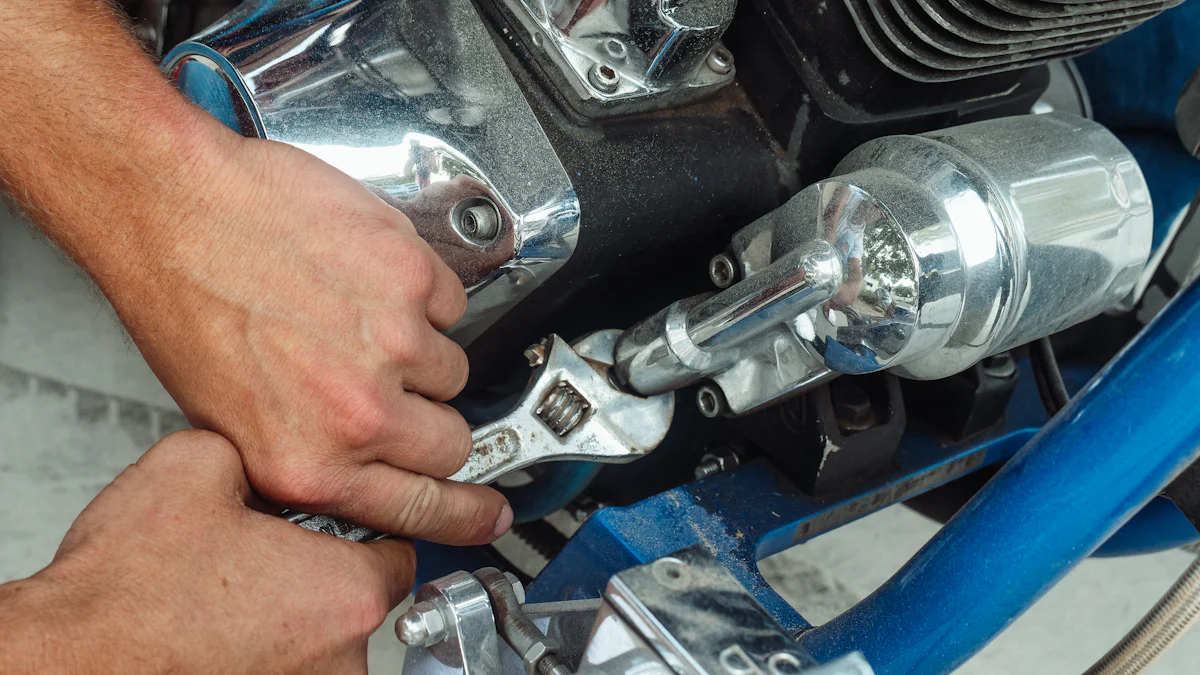
Now that you’ve accessed the sensor, it’s time to use the O2 sensor wrench. Proper positioning of the wrench is crucial. Make sure the wrench is securely seated on the sensor to avoid slipping. A well-positioned wrench prevents damage to the sensor nut. If the sensor feels too tight, don’t worry. You can cut the wire and use a box wrench or a deep socket with a breaker bar for better leverage.
When you’re ready to loosen the sensor, turn it counterclockwise. This technique helps in unscrewing the sensor without much hassle. If the sensor proves stubborn, applying a bit of heat can help loosen it. Once the sensor is loose, finish removing it by hand. This careful approach ensures you don’t damage the sensor or surrounding components.
Using an O2 sensor wrench effectively requires patience and precision. With these steps, you’ll have the old sensor out in no time, paving the way for installing a new one.
Installing the New Sensor

Getting the new sensor in place requires a bit of prep work. Let’s dive into the steps to ensure everything goes smoothly.
Preparing the New Sensor
Checking Compatibility
First things first, make sure the new sensor fits your vehicle. Check the part number on the sensor package against your vehicle’s specifications. This step prevents any installation hiccups. An incompatible sensor won’t function correctly and could cause more issues down the line.
Applying Anti-Seize Compound
Before installing, apply an anti-seize compound to the threads of the new sensor. This compound helps prevent the sensor from sticking in the future. Just a small amount will do the trick. Avoid getting any on the sensor tip, as this can affect its performance. The anti-seize ensures easy removal when the time comes for another replacement.
Installing with the O2 Sensor Wrench
Aligning the Sensor Correctly
Now, it’s time to align the new sensor. Position the sensor so that it lines up perfectly with the mounting hole. A proper alignment ensures the sensor functions correctly. Misalignment can lead to faulty readings and poor engine performance. Take a moment to double-check the alignment before proceeding.
Tightening the Sensor Securely
Grab your trusty O2 sensor wrench for the next step. Start threading the sensor by hand to avoid cross-threading. Once it’s snug, use the wrench to tighten it securely. Follow the manufacturer’s torque specifications, usually around 35 ft-lbs. Over-tightening can damage the sensor, while under-tightening might cause leaks. The O2 sensor wrench provides the leverage needed for a secure fit.
With these steps, your new sensor should be installed and ready to go. Proper installation ensures optimal performance and longevity for your vehicle’s O2 sensor system.
Final Checks and Testing
Reconnecting Electrical Connections
Ensuring Secure Connections
Now comes the crucial part of reconnecting the electrical connections. Make sure each connection fits snugly into its socket. A secure fit ensures that the sensor communicates effectively with the vehicle’s system. Double-check every connection to avoid any loose ends.
Checking for Any Loose Wires
Loose wires can cause trouble down the line. Inspect the area around the sensor for any stray wires. Tuck them away neatly to prevent interference with other components. A quick check now saves headaches later.
Testing the New Sensor
Starting the Vehicle
Time to see your hard work pay off. Start the vehicle and let it idle for a few minutes. Listen carefully for any unusual sounds. A smooth start indicates a job well done.
Monitoring Performance and Error Codes
Keep an eye on the vehicle’s performance. Use a diagnostic tool to scan for any error codes. The absence of error codes means the new sensor functions correctly. If any codes appear, recheck the installation steps. A properly installed sensor will improve engine efficiency and reduce emissions.
Proper O2 sensor maintenance is crucial for vehicle performance and emission control. Following the outlined steps ensures effective results and prevents costly repairs. Using an O2 sensor wrench correctly saves time and effort. A well-maintained sensor improves fuel efficiency and reduces emissions.
Testimonial: “Had to pick one up at NAPA after finding a P0420 code while working on the in-law’s car. The socket from NAPA was very nice and heavy.”
This testimonial highlights the importance of using quality tools. Mastering these skills enhances your ability to maintain your vehicle effectively.