
Using a tire wrench correctly ensures safety and vehicle integrity. Improper use can lead to accidents. Statistics show that 29% of wheel separation incidents result in collisions, with 85% due to fastener failure. Common mistakes include over-tightening and under-tightening lug nuts. Avoid these by using the right tools. Essential tools include a tire wrench, jack, and spare tire. A torque wrench helps achieve precise tightening, preventing damage and ensuring secure wheels.
Understanding the Tire Wrench
Types of Tire Wrenches
L-shaped Wrench
The L-shaped wrench features a simple design. This wrench has a single socket at one end and a handle at the other. Mechanics often use this type for its ease of handling. The shape allows for effective leverage when loosening or tightening lug nuts.
X-shaped Wrench
The X-shaped wrench offers versatility. This wrench has four sockets at each end, forming an “X” shape. Users can select the appropriate socket size for different lug nuts. This design provides better grip and leverage compared to the L-shaped wrench.
Torque Wrench
The torque wrench ensures precise tightening. This wrench measures the amount of force applied to the lug nuts. Mechanics use this tool to avoid over-tightening or under-tightening. Proper torque prevents damage to the wheel and ensures safety.
Parts of a Tire Wrench
Handle
The handle provides the necessary grip. A sturdy handle allows users to apply adequate force. Handles often feature ergonomic designs to reduce hand fatigue during use.
Socket
The socket fits over the lug nut. Different sizes accommodate various lug nut dimensions. A secure fit between the socket and lug nut ensures effective operation.
Extension Bar
The extension bar increases reach. This part helps access lug nuts in tight spaces. Extension bars provide additional leverage, making the task easier.
Preparing to Use the Tire Wrench
Safety Precautions
Parking the Vehicle Safely
Park the vehicle on a flat, stable surface. Engage the parking brake to prevent movement. Turn off the engine and remove the keys from the ignition. Ensure that the vehicle remains stationary during the process.
Using Wheel Chocks
Place wheel chocks behind the tires. Position the chocks on the opposite side of the tire being changed. This step prevents the vehicle from rolling. Use sturdy chocks designed for automotive use.
Gathering Necessary Tools
Tire Wrench
Select the appropriate tire wrench for the lug nuts. Ensure that the wrench fits securely over the lug nuts. A proper fit allows for effective loosening and tightening. Keep the tire wrench within easy reach.
Jack
Choose a jack suitable for the vehicle’s weight. Position the jack under the designated lifting point. Follow the vehicle’s manual for correct placement. Raise the vehicle until the tire lifts off the ground.
Spare Tire
Inspect the spare tire for proper inflation. Check the tire for any visible damage. Ensure that the spare tire matches the vehicle’s specifications. Place the spare tire near the work area for easy access.
Steps to Use a Tire Wrench Correctly

Loosening the Lug Nuts
Positioning the Wrench
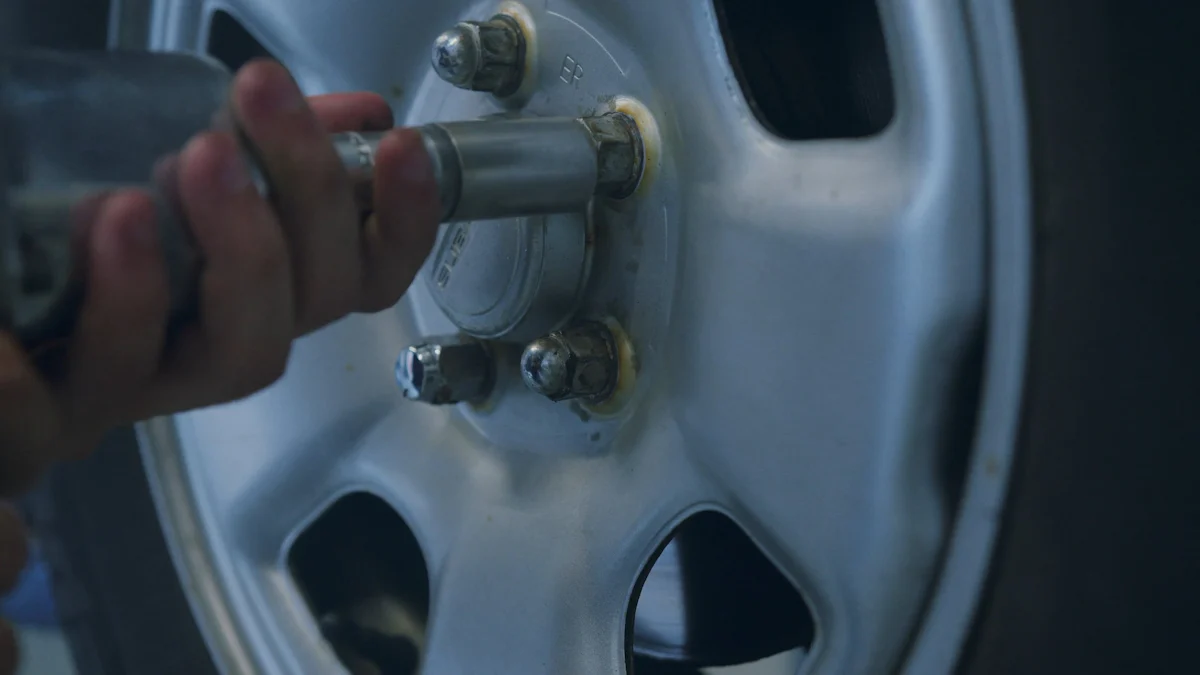
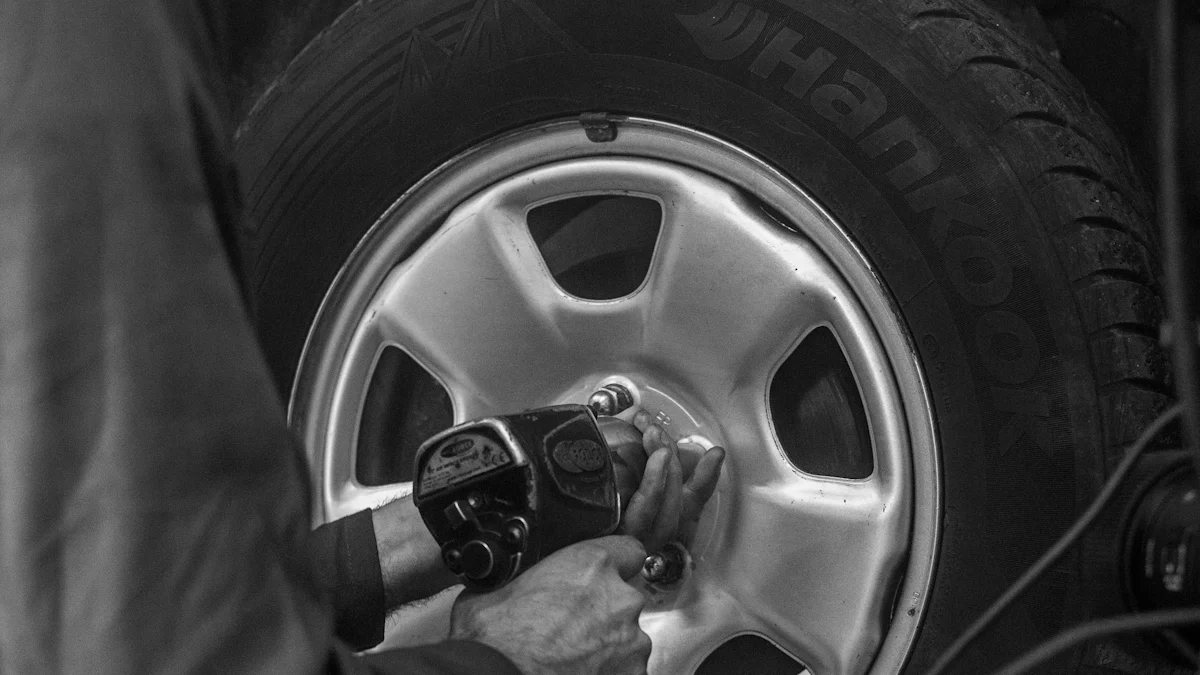
Place the tire wrench securely over the lug nut. Ensure that the socket fits snugly. A loose fit can cause slippage and injury. Align the handle for optimal leverage. An L-shaped wrench or X-shaped wrench works well for this step.
Applying Force
Apply steady force to the handle. Push down with controlled pressure. Avoid sudden movements to prevent injury. If the lug nut resists, use a breaker bar for extra leverage. A helper can strike the wrench with a hammer to loosen stubborn nuts. This impact often helps break the seal.
Lifting the Vehicle
Placing the Jack
Position the jack under the vehicle’s designated lifting point. Refer to the vehicle manual for guidance. Ensure the jack sits on a flat, stable surface. Incorrect placement can damage the vehicle and cause accidents.
Raising the Vehicle
Raise the vehicle until the tire lifts off the ground. Turn the jack handle slowly and steadily. Monitor the vehicle’s stability during this process. Stop if the vehicle shifts or becomes unstable. Safety should remain the top priority.
Removing the Lug Nuts and Tire
Fully Loosening the Lug Nuts
Finish loosening the lug nuts by hand. Remove each nut and place them in a safe location. Ensure that all nuts are fully removed before proceeding. This step prepares the tire for removal.
Taking Off the Tire
Grasp the tire firmly with both hands. Pull the tire straight off the wheel studs. Place the removed tire aside. Inspect the wheel hub for any damage or debris. Clean the area if necessary before installing the spare tire.
Installing the Spare Tire
Aligning the Tire
Align the spare tire with the wheel studs. Ensure that the holes in the wheel match the studs. Push the tire onto the wheel hub until it fits snugly. This step ensures proper alignment and stability.
Hand-Tightening the Lug Nuts
Place each lug nut back onto the wheel studs. Hand-tighten the lug nuts in a star pattern. This method distributes the pressure evenly. Avoid using the tire wrench at this stage. Hand-tightening prevents cross-threading and ensures a secure fit.
Lowering the Vehicle
Using the Jack to Lower
Slowly lower the vehicle using the jack. Turn the jack handle in the opposite direction used for lifting. Lower the vehicle until the tire touches the ground. Ensure the vehicle rests securely on the ground before removing the jack.
Tightening the Lug Nuts
Use the tire wrench to tighten the lug nuts. Follow a star pattern to ensure even pressure. Apply steady force to each lug nut. Avoid sudden movements to prevent injury. Use a torque wrench for final tightening. Adjust the torque wrench to the manufacturer’s specifications. Listen for an audible click to confirm the correct torque. This step ensures the lug nuts are neither over-tightened nor under-tightened.
Final Checks and Maintenance
Ensuring Proper Tightness
Using a Torque Wrench
Using a torque wrench ensures the lug nuts have the correct tightness. Adjust the torque wrench to the manufacturer’s specifications. Place the torque wrench over each lug nut. Turn the wrench until you hear an audible click. This sound indicates the lug nut has reached the proper torque. Repeat this process for all lug nuts. Proper torque prevents wheel damage and ensures safety.
Storing the Tools
Cleaning and Storing the Wrench
Clean the tire wrench after use. Remove any dirt or debris from the wrench. Store the wrench in a dry place to prevent rust. A clean and well-maintained wrench lasts longer and performs better. Proper storage keeps the wrench ready for future use.
Checking the Spare Tire
Inspect the spare tire regularly. Ensure the tire has proper inflation. Check for any visible damage. A well-maintained spare tire ensures readiness during emergencies. Keep the spare tire in an accessible location. Regular checks prevent unexpected issues on the road.
Recap the key steps for using a tire wrench correctly. Follow safety precautions, gather necessary tools, and use proper techniques. Ensure lug nuts have the correct tightness with a torque wrench. Practice these steps to become proficient. Familiarize yourself with different types of wrenches, such as click-type and digital torque wrenches. Regularly check and maintain your tools. Proper usage ensures safety and vehicle integrity.
See Also
Revolutionary Solutions: High-Quality Upgrades for Motorcycles
Essential Tips for Warm Winter Nights with Soft Cozy Blankets