
Ever wondered why a washing machine tub spanner wrench is essential? This tool plays a crucial role in maintaining your washing machine. Removing the tub becomes a breeze with the right spanner wrench. A washing machine tub spanner wrench helps you tackle stubborn nuts and bolts. You can keep your machine running smoothly by removing the tub for cleaning or repairs. Using this tool ensures that you can handle maintenance tasks efficiently. So, grab your washing machine tub spanner wrench and get ready to dive into some hands-on work!
Tools and Materials Needed
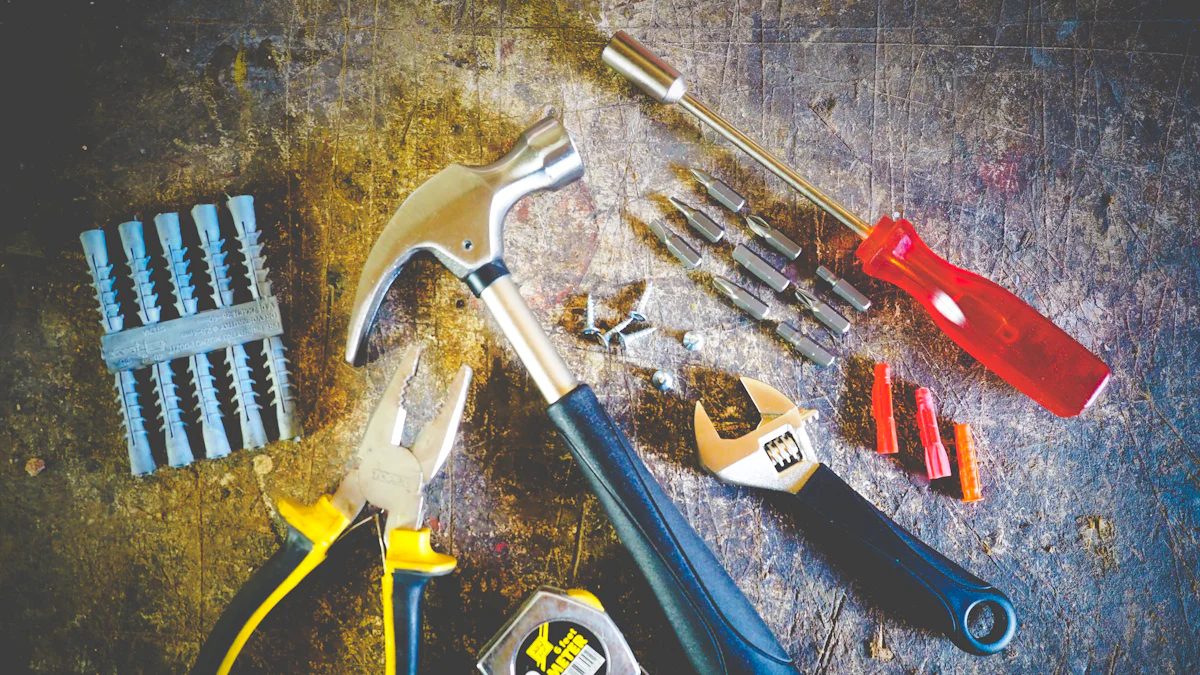
Essential Tools
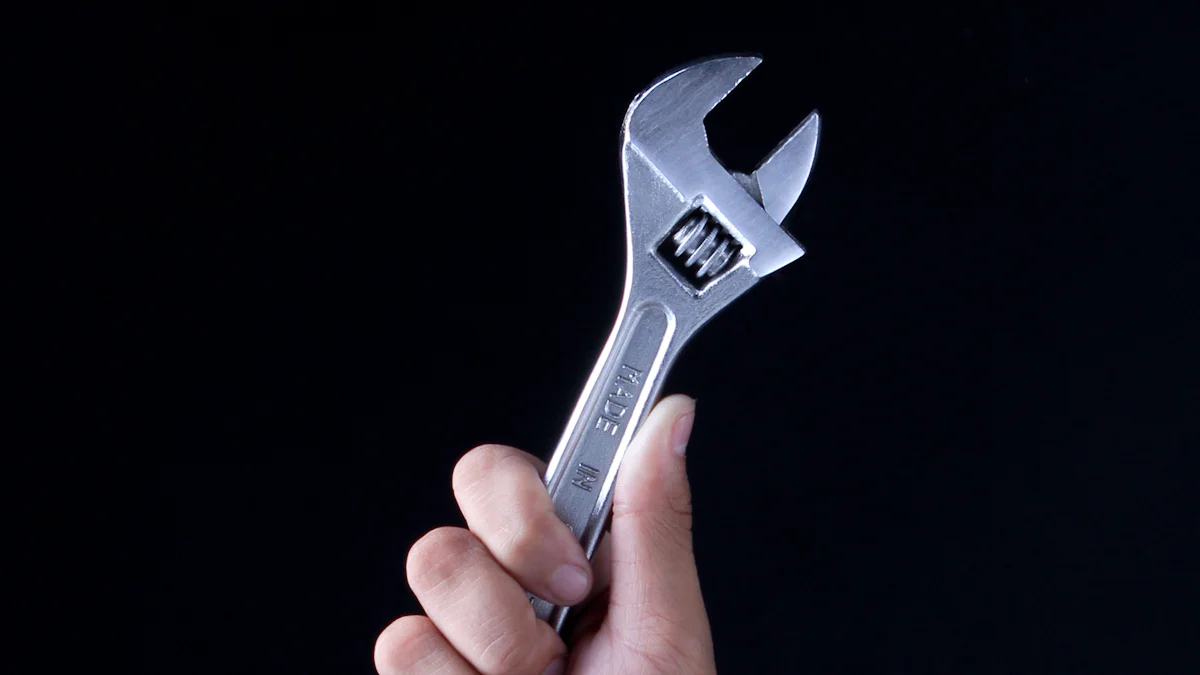
Spanner Wrench
The Spanner Wrench is your go-to tool for washing machine tub removal. This wrench has a spring-loaded retractable center pin. The pin helps hold and align the flange nut. You’ll find the spanner pins match up with the notches in the flange nut. This alignment makes the task easier. Make sure you have the right size for your washing machine model. A well-fitted spanner wrench ensures a smooth operation.
Hammer
A Hammer is another must-have tool. You’ll use it to strike the arm of the spanner wrench. This action loosens the tub nut. A hammer with a comfortable grip works best. You need enough force to loosen stubborn nuts. Keep the hammer handy as you work through the process.
Additional Materials
Penetrating Oil
Penetrating Oil like WD-40 can be a lifesaver. Rusted or stubborn nuts can be tough to handle. Apply the oil to the nut and let it sit for about 30 minutes. This step makes the nut easier to remove. Always keep a can of penetrating oil in your toolkit. It’s a small investment for big results.
Protective Gear
Safety first! Protective Gear is essential when working with tools. Wear gloves to protect your hands. Safety goggles shield your eyes from debris. A dust mask can also be helpful. You want to stay safe while getting the job done. Always prioritize safety over speed.
Safety Precautions and Preparation
Safety Measures
Disconnect Power Supply
Always start by unplugging the washing machine. This step prevents electrical shocks. You don’t want any surprises while working. Ensure the power cord is completely removed from the outlet. Double-check to make sure everything is safe.
Wear Protective Gear
Put on your protective gear before starting. Gloves protect your hands from sharp edges. Safety goggles shield your eyes from flying debris. A dust mask helps you breathe easily. Staying safe should always be your top priority.
Preparation Steps
Gather Tools and Materials
Collect all necessary tools and materials. Lay everything out in a convenient spot. Make sure nothing is missing. Having everything ready saves time and effort. A well-organized workspace makes the job easier.
Position the Washing Machine
Move the washing machine to a suitable location. Ensure there’s enough space to work comfortably. Keep the area well-lit for better visibility. A stable position prevents unwanted movement. Check that the machine is level before proceeding.
Step-by-Step Guide to Using a Washing Machine Tub Spanner Wrench
Engaging the Washing Machine Tub Spanner Wrench
Locate the Tub Nut
First, find the tub nut inside your washing machine. The tub nut holds the tub in place. Look for it at the center of the tub. The nut usually has notches around its edge. These notches help you align the washing machine tub spanner wrench. Make sure you have a clear view of the nut. A flashlight can help if the area is dark.
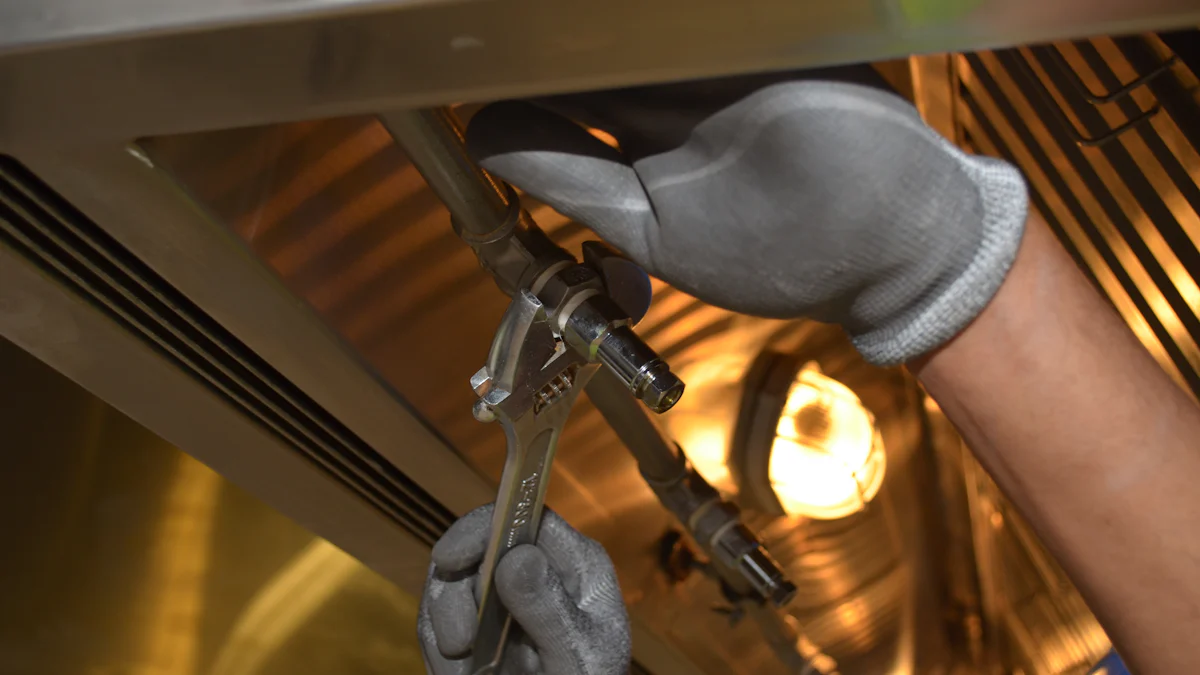
Position the Spanner Wrench
Now, grab your washing machine tub spanner wrench. Align the wrench with the notches on the tub nut. The teeth of the wrench should fit snugly into the notches. This fit ensures a firm grip on the nut. Hold the wrench steady. You want to make sure it doesn’t slip when you apply force. A secure position makes the next steps easier.
Removing the Tub Nut
Strike the Wrench with a Hammer
With the spanner wrench in place, pick up your hammer. Use the hammer to strike the arm of the wrench. A firm tap helps loosen the nut. Make sure you hit the wrench in the right direction. Most tub nuts have a right-hand thread. This means you need to turn them counter-clockwise to loosen. A few good hits should do the trick.
Loosen and Remove the Nut
Once the nut starts to loosen, use your hands to finish the job. Turn the washing machine tub spanner wrench counter-clockwise. Keep turning until the nut comes off completely. Be careful as you remove the nut. You don’t want to drop it inside the machine. Set the nut aside in a safe spot. Now, you’re ready to remove the tub.
Handling Common Issues
Dealing with Rusted Nuts
Rusted nuts can be a real pain. If you encounter rust, don’t panic. Grab some penetrating oil like WD-40. Spray the oil onto the rusted nut. Let the oil sit for about 30 minutes. The oil helps break down the rust. After waiting, try using the washing machine tub spanner wrench again. The nut should come off more easily.
Tips for Stubborn Nuts
Some nuts just won’t budge. If you face a stubborn nut, try a few tricks. First, double-check the alignment of your spanner wrench. A proper fit makes a big difference. Next, apply more force with your hammer. Sometimes a little extra muscle does the job. If all else fails, consider using a larger wrench. A bigger tool might provide better leverage.
Post-Removal Tips
Maintenance Advice
Clean the Tub Area
Cleaning the tub area keeps your washing machine in top shape. Use a damp cloth to wipe away any residue or grime. A mild detergent can help remove stubborn stains. Regular cleaning prevents buildup and extends the life of your machine. A clean tub area also ensures better washing results.
Inspect for Wear and Tear
Check the tub and surrounding parts for any signs of wear and tear. Look for cracks, rust, or loose components. Identifying issues early can save you from costly repairs later. Replace any damaged parts promptly. A well-maintained machine runs more efficiently and lasts longer.
Troubleshooting Potential Problems
Reassemble the Washing Machine
Reassemble the washing machine carefully after tub removal. Follow the steps in reverse order. Ensure all parts fit snugly and securely. Double-check that the tub nut is tightened properly. A well-reassembled machine prevents leaks and operational issues.
Test for Proper Functioning
Test the washing machine to ensure everything works correctly. Run a short cycle with no clothes to check for leaks or unusual noises. Listen for smooth operation and watch for proper water drainage. Address any issues immediately to avoid further problems. A quick test gives peace of mind and confirms successful maintenance.
You now know how to use a washing machine tub spanner wrench effectively. Regular maintenance keeps your washing machine running smoothly. Early identification of minor issues prevents costly repairs. Monthly inspections protect your appliance from wear and tear. Always prioritize safety during maintenance tasks. Keep tools organized for efficient work. Address any problems immediately to avoid further complications. Your washing machine will thank you with reliable performance.