
A pedal spanner is a specialized tool for removing, installing, or adjusting bike pedals. Proper use of a pedal spanner ensures safe and efficient bike maintenance. Following a step-by-step guide simplifies the process and prevents common issues.
Tools and Materials Needed
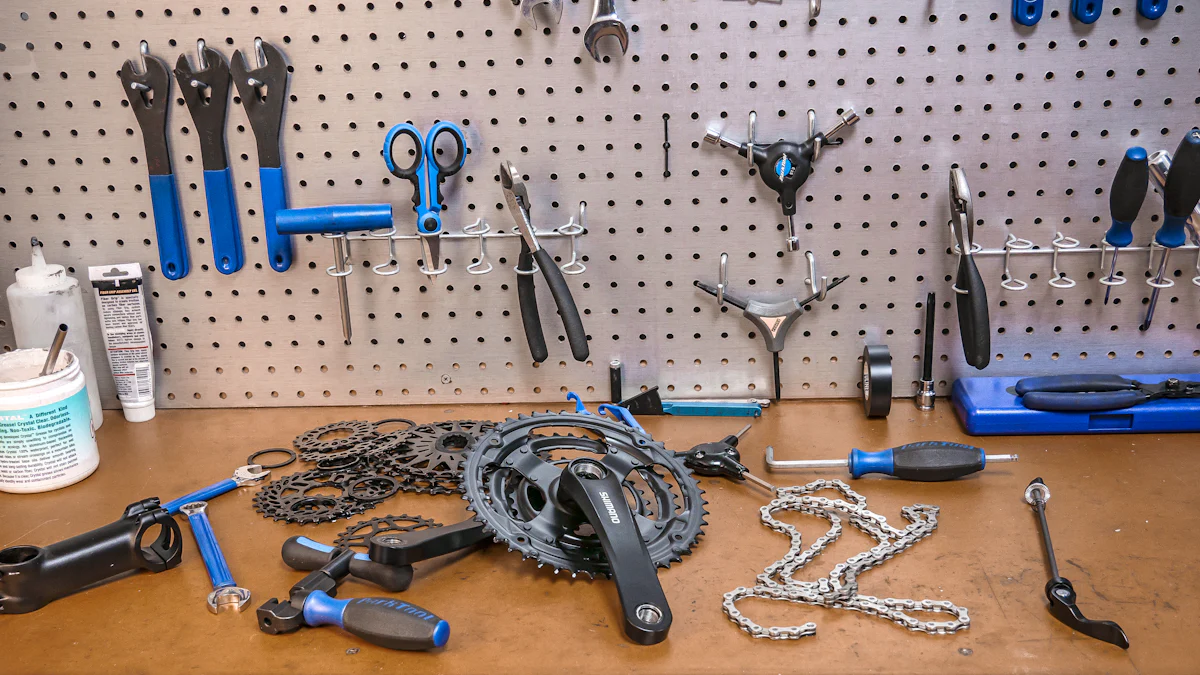
Essential Tools
Pedal Spanner
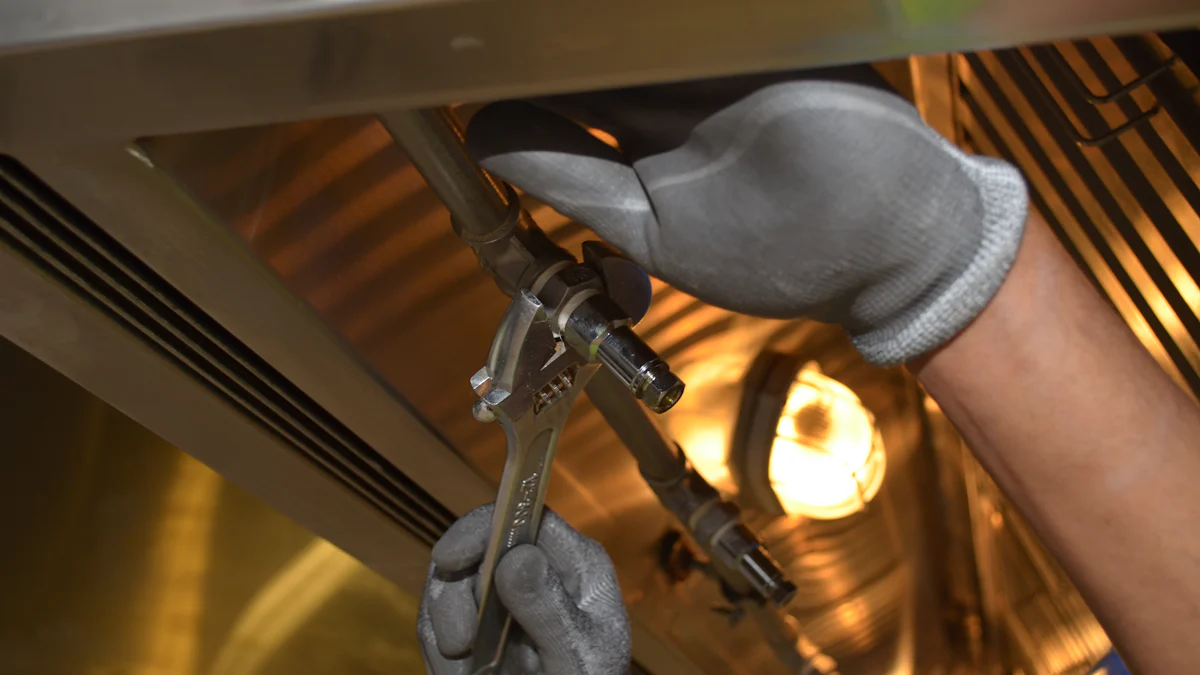
A pedal spanner is a long tool that provides leverage for easier removal of stuck pedals. Most pedals require either a 15mm spanner or an 8mm hex key for fitting and removal. A 15mm spanner is necessary if the pedals have parallel faces on the spindle between the pedal body and the crank. Basic or flat pedals usually require a 15mm wrench for removal. A 15mm pedal spanner is specifically designed for bike repairs.
Bike Stand (optional)
A bike stand holds the bike steady while you work on the pedals. This optional tool makes the process easier and more comfortable. If you don’t have a bike stand, you can still manage without one.
Grease or Lubricant
Grease or lubricant prevents the pedals from seizing up and makes future removal easier. Apply a generous amount to the threads before installing new pedals. This step ensures smooth operation and prolongs the life of the components.
Optional Tools
Gloves
Gloves protect your hands from dirt and grease. They also provide a better grip on the tools. While not essential, gloves make the task cleaner and more comfortable.
Cleaning Cloth
A cleaning cloth helps remove dirt and debris from the pedal area. Keeping the area clean ensures that the tools work effectively and prevents contamination of the new grease or lubricant.
Preparing Your Bike
Positioning the Bike
Using a Bike Stand
A bike stand provides stability while working on your bike. Place your bike on the stand to keep it steady. This position allows easy access to the pedals and prevents the bike from tipping over. A stable bike ensures safer and more efficient maintenance.
Alternative Methods
No bike stand? No problem. Position your bike upside down, resting on the saddle and handlebars. Ensure the ground is flat to avoid any wobbling. Another method involves leaning the bike against a sturdy wall. Use caution to prevent scratches or damage to the bike frame.
Cleaning the Pedal Area
Removing Dirt and Debris
Clean the pedal area before starting any work. Use a cleaning cloth to wipe away dirt and grime. Pay special attention to the threads and surrounding areas. A clean surface ensures better tool grip and prevents contamination of new grease.
Applying Lubricant
Apply a generous amount of lubricant to the pedal threads. This step prevents pedals from seizing up and makes future removal easier. Grease also reduces friction, ensuring smooth operation. Proper lubrication prolongs the life of your bike components.
Removing the Pedals
Identifying the Pedal Types
Left Pedal
The left pedal has a reverse thread. This means you need to turn it clockwise to loosen it. Look for an “L” marking on the spindle. This marking helps identify the left pedal easily.
Right Pedal
The right pedal has a standard thread. Turn it counterclockwise to loosen it. An “R” marking on the spindle indicates the right pedal. Correct identification prevents threading issues.
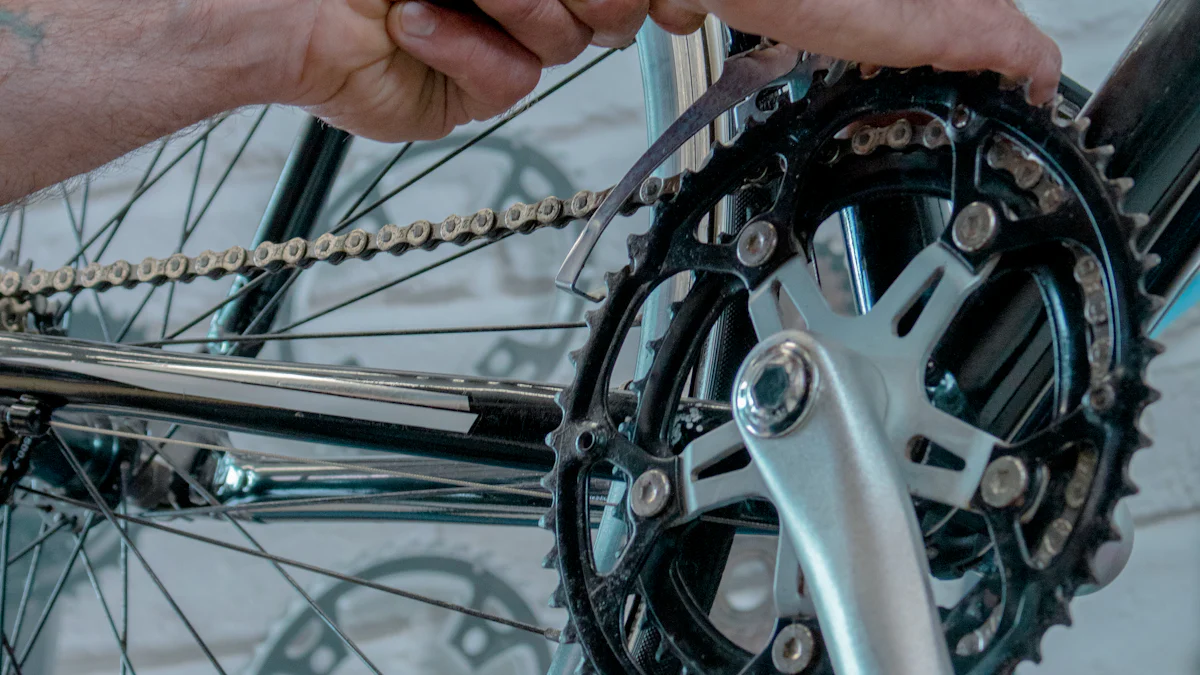
Using the Pedal Spanner
Correct Positioning
Position the pedal spanner alongside the crank arm. This placement provides optimal leverage. Ensure the spanner fits snugly on the pedal flats. A proper fit prevents slipping and damage.
Applying Force
Apply steady pressure to the pedal spanner. Push toward the crank arm for better leverage. Use your body weight if necessary. Avoid sudden jerks to prevent stripping the threads. Consistent force ensures safe removal.
Common Issues and Solutions
Stuck Pedals
Stuck pedals can be frustrating. Use penetrating oil to loosen the threads. Allow the oil to sit for a few minutes. Apply steady pressure with the pedal spanner. If necessary, use both a spanner and a hex key simultaneously. Heat can also help, but use caution to avoid damage.
Stripped Threads
Stripped threads complicate pedal removal. Avoid using excessive force to prevent this issue. If threads strip, seek professional help. A bike shop can rethread the crank arm. Regular maintenance prevents thread damage.
Installing New Pedals
Preparing the New Pedals
Checking Compatibility
Ensure that the new pedals match the crank arms on your bike. Verify the thread size and type. Most bikes use a 9/16-inch thread, but some older models may differ. Check the manufacturer’s specifications or consult a bike shop if unsure.
Applying Grease
Apply a generous amount of grease to the threads of the new pedals. This step prevents seizing and makes future removal easier. Grease also reduces friction, ensuring smooth operation. Use a high-quality bike grease for the best results.
Attaching the Pedals
Correct Threading
Start by threading the right pedal into the right crank arm. Turn the pedal clockwise to tighten. Use your fingers initially to avoid cross-threading. Repeat the process for the left pedal, turning it counterclockwise. Proper threading ensures a secure fit.
Tightening the Pedals
Once the pedals are hand-tight, use the pedal spanner to secure them further. Position the spanner alongside the crank arm for optimal leverage. Apply steady pressure to tighten the pedals. Avoid overtightening to prevent damage to the threads.
Final Adjustments
Ensuring Proper Alignment
Check the alignment of the pedals. Ensure that they sit parallel to the crank arms. Misaligned pedals can cause discomfort and affect your riding efficiency. Adjust as necessary to achieve proper alignment.
Testing the Pedals
Test the pedals by rotating the crank arms. Ensure smooth and consistent movement. Listen for any unusual noises that may indicate improper installation. A smooth operation confirms that the pedals are correctly installed.
Testimonial from Lonnie Z.: “Hey Hey, Jerry and Rick. I would just like to thank you both for creating Pedal Pods. I am using my pedals more than I ever have now that they are mounted on the ‘Pods’. I have used my pedals nearly daily since I got them set up.”
Recap the key steps for using a pedal spanner:
- Gather essential tools like a pedal spanner and grease.
- Position the bike securely.
- Clean the pedal area.
- Identify pedal types.
- Use the pedal spanner correctly.
- Install new pedals with proper alignment.
Proper pedal maintenance ensures smooth rides and extends pedal life. Practice these steps to gain confidence in your bike maintenance skills. Leave comments or ask questions below. Happy cycling!
See Also
Scooter Upgrades: High-Quality Parts for Optimal Performance
Discovering Diverse Sock Options for Both Genders