

Crown molding adds a touch of elegance to any room. This decorative trim hides imperfections and elevates your home’s appearance. Many buyers value homes with crown molding, which can increase property value. Achieving a perfect cut requires precision. A crown molding cut tool ensures accuracy and saves time. This tool helps you create seamless joints and professional finishes. Mastering this tool transforms your space into a classic masterpiece.
Understanding Crown Molding Jigs
What is a Crown Molding Jig?
A crown molding jig is an essential tool for anyone looking to achieve precise cuts in crown molding. This tool holds the molding securely in place, allowing you to cut it in the same orientation as it will be installed on the wall. The jig ensures that the molding stays in a ‘sprung position‘, which means it is positioned upside down and backwards on the saw. This setup mimics how the molding will appear when mounted, ensuring accuracy.
Different types of crown molding jigs cater to various needs. Some popular models include the Kreg KMA2800 Crown Pro, which eliminates the need for compound-angle cuts, and the Milescraft Crown45, which simplifies the creation of joints without the need for coping. Each type offers unique features, so selecting the right one depends on your specific project requirements.
Benefits of Using a Crown Molding Jig
Using a crown molding cut tool like a jig provides numerous benefits. Precision and accuracy top the list. The jig holds the molding firmly, reducing the chances of errors during cutting. This precision ensures that the joints fit seamlessly, giving your room a polished and professional look.
Time-saving advantages also make the crown molding cut tool invaluable. With the jig’s assistance, you can quickly line up materials and make accurate cuts without constant adjustments. Tools like the Cut N Crown Jig simplify the process further by sliding easily on the miter saw table, though some moldings may require additional support. By using a jig, you streamline your workflow, making the task less daunting and more efficient.
Preparing to Use a Crown Molding Jig
Gathering Necessary Tools and Materials
Getting ready to use a crown molding jig means having the right tools and materials on hand. You want to make sure everything is within reach to keep the process smooth and efficient. Here’s a handy list of what you’ll need:
List of Required Tools
- Crown Molding Jig: The star of the show. Choose one that suits your project needs.
- Miter Saw: Essential for making precise cuts.
- Measuring Tape: Accurate measurements are key to perfect cuts.
- Pencil: For marking guidelines on the molding.
- Clamps: To hold the molding securely in place.
Safety Equipment
Safety should always come first when working with power tools. Equip yourself with:
- Safety Glasses: Protect your eyes from flying debris.
- Ear Protection: Miter saws can be loud, so safeguard your hearing.
- Dust Mask: Prevent inhalation of dust particles.
Setting Up Your Workspace
A well-organized workspace sets the stage for success. You want enough room to move around and work comfortably.
Ensuring Adequate Space
Clear out any clutter in your workspace. Make sure you have ample space to maneuver the miter saw and handle long pieces of molding. A spacious area helps prevent accidents and mistakes.
Organizing Tools and Materials
Keep your tools and materials organized. Arrange them in a way that allows easy access during the cutting process. Place the miter saw on a sturdy surface and ensure the jig is ready for action. Organizing your workspace saves time and reduces frustration.
Expert Testimony: “This baby works great. I have worked for years with crown molding. I decided to do a home for a fellow and only had two days to do the whole thing (4000 sqft 2 story). I completed it in 18 hours including caulking and paint.”
Setting up properly can make all the difference. With everything in place, you’re ready to start using your crown molding jig like a pro!
Step-by-Step Guide to Using a Crown Molding Jig
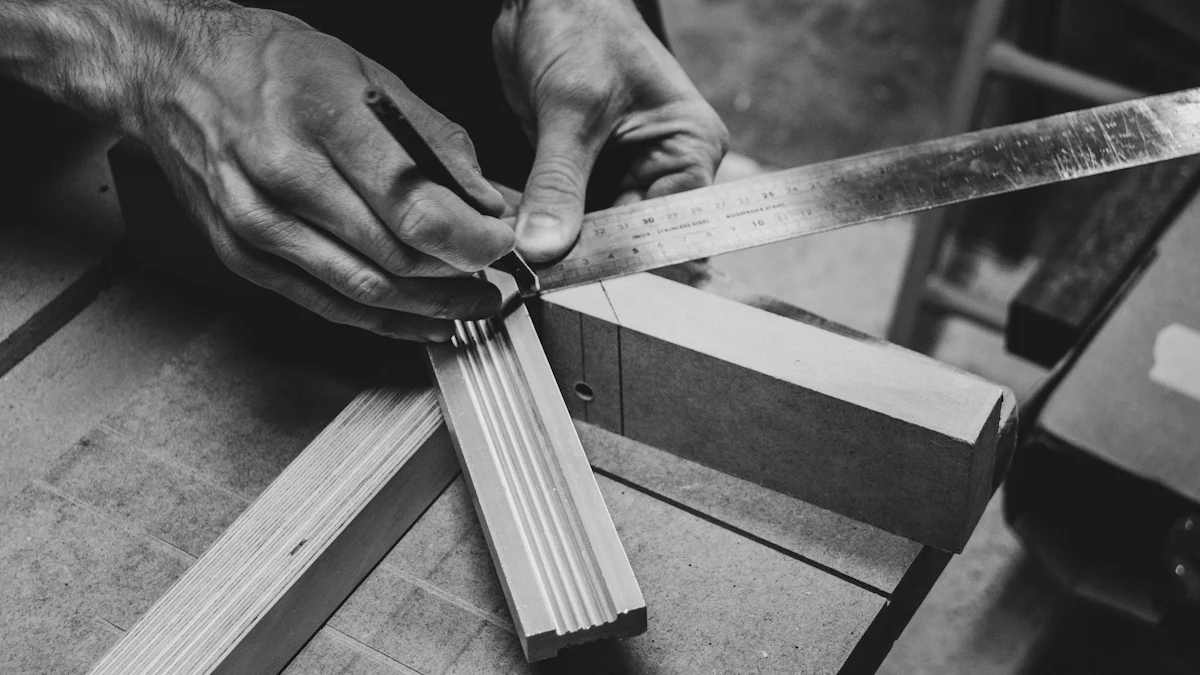
Measuring and Marking the Molding
Accurate measurements make all the difference when using a crown molding cut tool. Use a measuring tape to measure each wall section where the molding will go. Write down each measurement to avoid confusion later. Consistency matters, so double-check each number.
Marking guidelines on the molding helps ensure precision. Use a pencil for clear visibility. Draw lines where cuts will occur. These marks guide you during the cutting process. Clear guidelines help maintain accuracy with your crown molding cut tool.
Positioning the Molding in the Jig
Proper alignment of the molding in the jig is crucial. Place the molding upside down and backwards in the jig. This position mimics how the molding will appear on the wall. The correct alignment ensures the crown molding cut tool works effectively.
Secure the molding in place to prevent movement. Use clamps to hold the molding firmly. A stable setup reduces errors. A secure molding allows the crown molding cut tool to perform precise cuts.
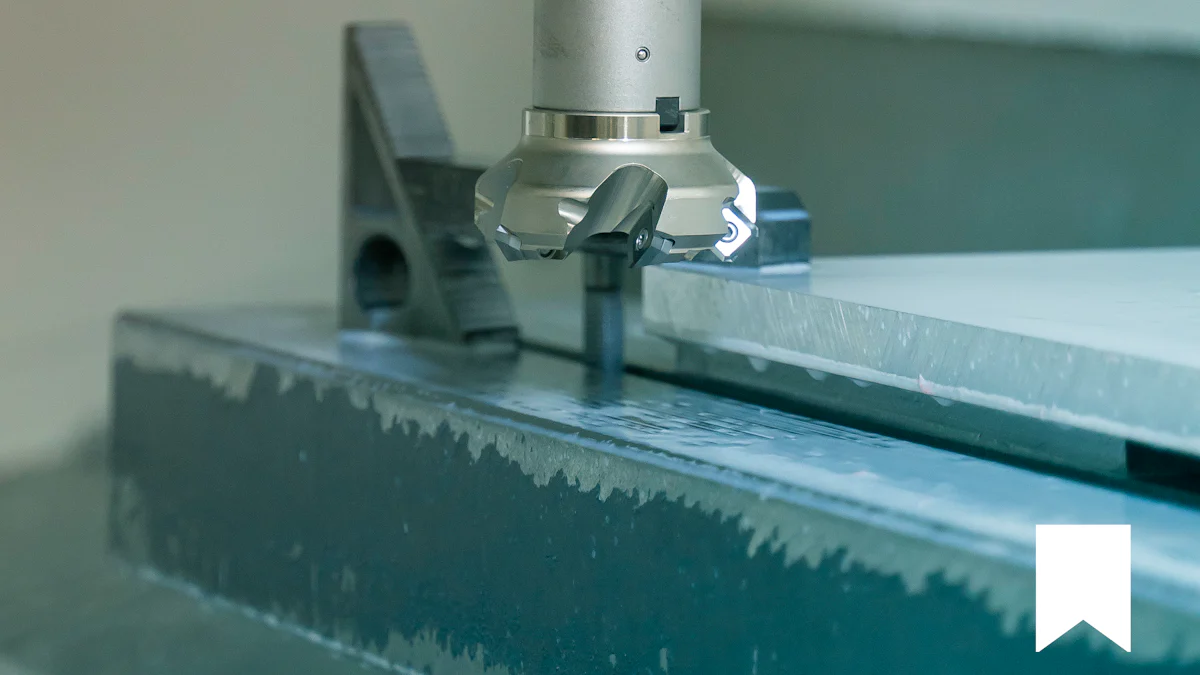
Making the Cut
Choosing the right saw enhances the effectiveness of your crown molding cut tool. A miter saw works best for this task. Ensure the saw blade is sharp for clean cuts. A dull blade can cause jagged edges.
Execute the cut with precision by following the marked guidelines. Keep a steady hand while guiding the saw. Let the crown molding cut tool do its job. A smooth cut results in a professional finish.
Tips for Achieving Perfect Cuts
Common Mistakes to Avoid
Every project has its pitfalls, and crown molding is no exception. Incorrect measurements often lead to gaps or misaligned pieces. Always ensure that each measurement is precise. Use a reliable measuring tape to avoid errors. Consistency in measurements guarantees a seamless fit.
Improper jig setup can also cause issues. Make sure the crown molding cut tool is correctly aligned. The molding should sit securely in the jig. A stable setup prevents movement during cutting. This ensures that each cut remains accurate and clean.
Expert Tips for Success
Want to achieve perfect cuts every time? Practice makes perfect. Start by practicing on scrap pieces. This allows you to get comfortable with the crown molding cut tool. Practicing helps you understand how the tool works. You can experiment without worrying about wasting materials.
Double-checking measurements is another key to success. Before making any cuts, verify each measurement. This extra step saves time and prevents costly mistakes. Accurate measurements ensure that the crown molding cut tool delivers a flawless finish.
Testimonial: “I put up some today and did it by the book, looks great, and the main thing is it’s repeatable! Perfect cut each and every time. Easy & Simple!”
Following these tips will help you master the art of using a crown molding cut tool. With practice and attention to detail, you’ll create stunning results that enhance any room.
Additional Resources
Recommended Articles
Articles on Crown Molding Techniques
Exploring various articles can deepen your understanding of crown molding techniques. These resources cover everything from basic installations to advanced methods. You can find tips on cutting corners and achieving seamless joints. Articles often provide step-by-step guides that simplify complex tasks. Learning from experts can boost your confidence in handling crown molding projects.
Resources for Further Learning
Diving into additional resources can enhance your skills further. Online tutorials and videos offer visual guidance. Watching professionals at work can clarify tricky steps. Books on woodworking and home improvement also provide valuable insights. Expanding your knowledge base ensures you tackle any crown molding challenge with ease.
Author’s Insights
Personal Experiences with Crown Molding
Installing crown molding can be a rewarding experience. Many DIY enthusiasts share their journeys online. One user found success using a Kreg jig for the first time. The jig held the molding securely, making precise cuts easier. Another individual improved their work quality by following expert directions. Personal stories highlight the learning curve involved in mastering crown molding.
“The first time I attempted crown molding wasn’t a success. My master bedroom sat unfinished for months. Thankfully my parents came to visit and they helped me finish the project.” – Unexpected Elegance
Additional Tips and Tricks
Practical tips can make a big difference in your crown molding projects. Practicing on scrap pieces helps you get comfortable with the tools. Double-checking measurements prevents costly mistakes. Using templates for angles simplifies the cutting process. These tricks save time and ensure professional results. Embracing these strategies leads to stunning transformations in any room.
Using a crown molding jig transforms your crown molding projects into a breeze. The jig ensures precise cuts and saves time. Practicing with the jig refines your skills and boosts confidence. Mastery comes with repetition and attention to detail. Explore more resources to deepen your understanding of crown molding techniques. Articles and tutorials provide valuable insights and tips. Embrace the journey of learning and watch your spaces transform with elegance.