
Cutting door hinges properly ensures a smooth and secure fit. A well-fitted hinge allows doors to swing effortlessly. Many homeowners enjoy the benefits of DIY hinge cutting. This task saves money and offers a sense of accomplishment. DIY projects have gained popularity, with spending on these activities growing by 44% between 2019 and 2021. Using a basic tool to cut hinges in door projects can be both rewarding and practical. Embrace the challenge and enhance your skills with each project.
Tools and Materials Needed
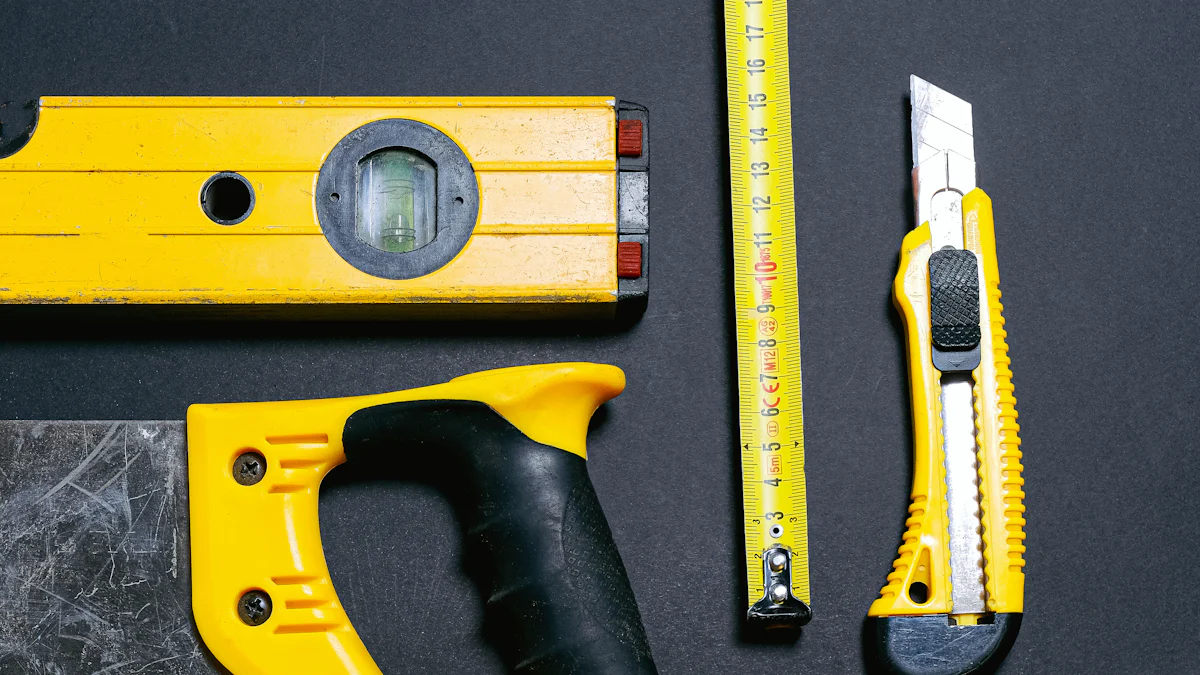
Cutting door hinges requires some basic tools and materials. You don’t need fancy gadgets to get the job done. Let’s dive into what you’ll need.
Essential Tools
Measuring Tape
A measuring tape is your best friend when it comes to precision. Accurate measurements ensure that your hinges fit perfectly. Measure twice to avoid mistakes. A tool to cut hinges in door projects demands accuracy.
Pencil or Marker
A pencil or marker helps you mark where the hinges will go. Clear markings guide your cuts. Make sure the marks are visible. This step sets the stage for a successful hinge installation.
Chisel
A sharp chisel is crucial for clean cuts. A razor-sharp chisel makes the task easier. Use it to carve out the hinge recess. The chisel is a classic tool to cut hinges in door frames.
Hammer
A hammer works hand-in-hand with the chisel. Light taps with the hammer help remove wood. Control is key here. A hammer is essential in any tool to cut hinges in door projects.
Screwdriver
A screwdriver secures the hinges in place. Choose the right size for your screws. A snug fit ensures stability. A screwdriver is indispensable when using a tool to cut hinges in door installations.
Utility Knife
A utility knife offers precision for fine adjustments. Use it to score lines or trim excess wood. A steady hand is vital. The utility knife complements other tools to cut hinges in door setups.
Additional Materials
Hinges
Hinges come in various sizes and styles. Choose ones that match your door. Quality hinges ensure durability. Hinges are the focal point of any tool to cut hinges in door tasks.
Screws
Screws hold everything together. Select screws that fit your hinges. Properly sized screws prevent wobbling. Screws are the backbone of a secure door hinge installation.
Sandpaper
Sandpaper smooths out rough edges. A smooth finish enhances the look and function. Sandpaper is the final touch in your tool to cut hinges in door projects.
Gather these tools and materials before starting your project. Each item plays a role in achieving a professional finish. With the right tools, cutting door hinges becomes a breeze.
Preparation Steps
Measuring and Marking
Measure the Hinge Placement
You need to measure the hinge placement accurately. Grab your measuring tape and determine where each hinge will sit on the door. Ensure that the measurements are consistent for a balanced look. A precise measurement prevents any misalignment when the door swings.
Mark the Outline on the Door
Now, take your pencil or marker and mark the outline of the hinge on the door. This step acts as your guide for cutting. Make sure the lines are clear and easy to follow. These markings will help you achieve a clean and professional finish.
Mark the Outline on the Door Frame
Next, focus on the door frame. Use the same method to mark the hinge outline on the frame. Consistency here is key. The door and frame should match perfectly for a seamless fit. Proper marking ensures that the door will open and close smoothly.
Setting Up the Work Area
Secure the Door
Before you start cutting, secure the door in place. Use clamps or have someone hold it steady. A stable door prevents accidents and ensures precision. Safety and stability are crucial when working with tools.
Gather All Tools and Materials
Make sure all your tools and materials are within reach. Organize everything neatly in your work area. Having everything ready saves time and keeps the process smooth. An organized workspace leads to efficient and effective work.
“If you’re only doing a few hinges, then your best bet is investing in a great wood chisel.” — Terry Love Forum User
A sharp chisel can make very clean cuts with minimal effort. This tool will be your best friend during the cutting process. With everything set up and ready, you’re now prepared to cut those door hinges like a pro!
Cutting the Hinge Recess
Time to dive into the exciting part of your DIY project: cutting the hinge recess. This step requires precision and patience. The right tool to cut hinges in door projects makes all the difference. Let’s explore two effective methods using basic tools.
Using a Chisel
A chisel is a classic tool to cut hinges in door frames. This method requires a steady hand and a sharp chisel.
Score the Outline
Start by scoring the outline of the hinge on the door. Use the chisel to make shallow cuts along the marked lines. These cuts guide the removal of wood later. Scoring helps maintain control and accuracy.
Remove Excess Wood
Once you’ve scored the outline, it’s time to remove the excess wood. Position the chisel at an angle and use light taps with a hammer. Gradually chip away the wood within the scored lines. Take your time to avoid removing too much material.
Narayan Shrouthy, a DIY Carpentry expert, advises:
“Once you’ve made the cut, clear the rough edges using the chisel. Then, clear out the wood shavings.”
Smooth the Recess
After removing the excess wood, smooth the recess with the chisel. Make gentle passes to achieve a flat surface. A smooth recess ensures a snug fit for the hinge. This step is crucial for a professional finish.
Using a Utility Knife
A utility knife offers precision for those who prefer a different approach. This tool to cut hinges in door setups provides fine control.
Cut Along the Outline
Begin by cutting along the marked outline with the utility knife. Apply steady pressure to create a clean cut. The knife should follow the lines precisely. This step sets the stage for removing thin wood layers.
Remove Thin Layers of Wood
Use the utility knife to carefully remove thin layers of wood. Work gradually to avoid overcutting. The goal is to create a recess that matches the hinge’s thickness. Patience here leads to better results.
Ensure a Smooth Finish
Finish by ensuring the recess is smooth and even. Use the utility knife to make final adjustments. A smooth finish enhances both the appearance and function of the hinge. This attention to detail pays off when the door swings effortlessly.
Choosing the right tool to cut hinges in door projects depends on personal preference and comfort. Both methods can yield excellent results with practice. Embrace the process and enjoy the satisfaction of a job well done.
Attaching the Hinges
The moment has arrived to attach the hinges to the door. This step is crucial for ensuring that the door functions smoothly. A well-positioned hinge guarantees that the door opens and closes without a hitch. Let’s dive into the process of positioning and securing the hinges using a tool to cut hinges in door projects.
Positioning the Hinges
Align the Hinges with the Recess
Aligning the hinges with the recess is an essential step. Place each hinge into the recess you carefully carved out. Ensure that the hinge sits flush against the wood. A proper alignment prevents any gaps that could affect the door’s movement. Many DIY enthusiasts find that using a tool to cut hinges in door setups helps achieve this precision effortlessly.
Check for Proper Fit
Checking for a proper fit is vital before securing the hinges. Close the door gently to see if the hinges align perfectly with the door frame. Adjust as needed to ensure a seamless fit. A snug fit ensures that the door will not sag or bind. As one satisfied customer mentioned, “I have used this jig to install several door hinges, and I have been very happy with the results.”
Securing the Hinges
Pre-drill Screw Holes
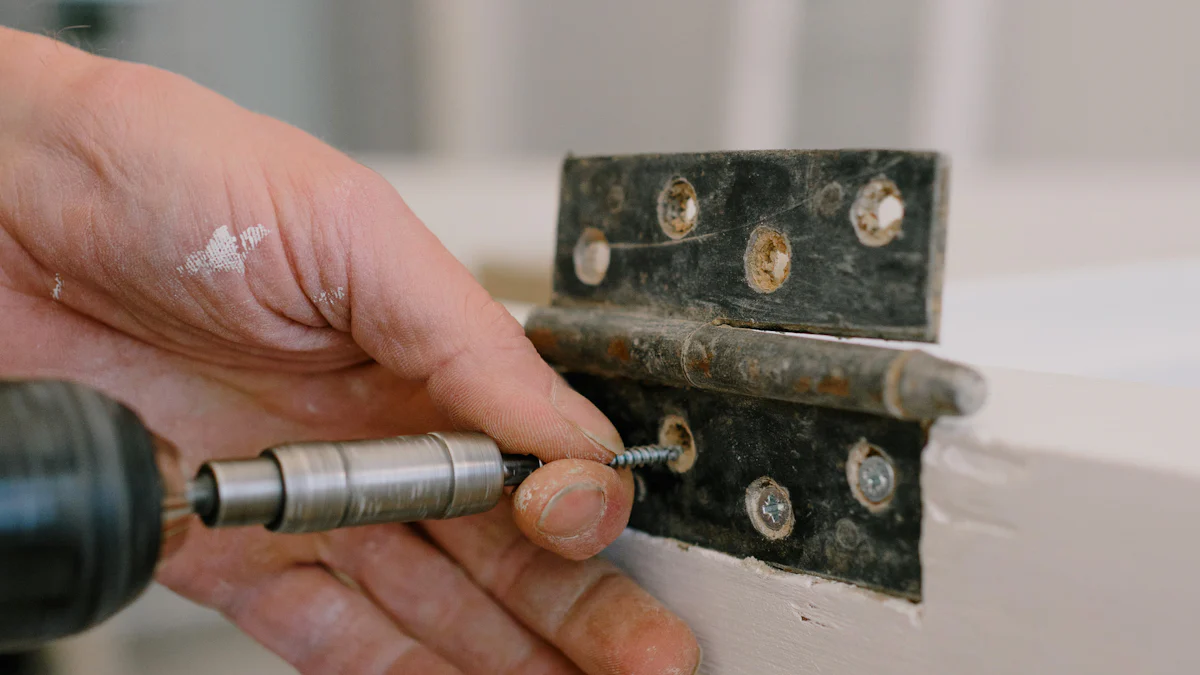
Pre-drilling screw holes is a step you should not skip. Use a drill to create pilot holes for the screws. This prevents the wood from splitting when you drive in the screws. A tool to cut hinges in door installations often includes a guide for accurate drilling. Pre-drilling ensures that the screws will hold the hinges securely in place.
Attach Hinges with Screws
Attaching hinges with screws is where the magic happens. Insert the screws into the pre-drilled holes and tighten them with a screwdriver. Make sure each screw is snug but not overly tight. Properly secured screws keep the hinges stable and the door functioning smoothly. As another user shared, “It is easy to use and produces professional-looking results.”
Test the Door Movement
Testing the door movement is the final step in the process. Open and close the door several times to ensure smooth operation. Listen for any unusual sounds or resistance. A well-installed hinge allows the door to swing effortlessly. If adjustments are needed, make them now to perfect the fit. Remember, a tool to cut hinges in door projects can make this entire process straightforward and satisfying.
With the hinges attached, your door is ready to function beautifully. Enjoy the fruits of your labor and the satisfaction of a job well done. The right tool to cut hinges in door projects can transform a daunting task into a rewarding experience.
Cutting door hinges with basic tools transforms a daunting task into an achievable DIY project. You learned how to measure, mark, and carve hinge mortises with precision. Practicing these skills sharpens your abilities and boosts confidence. Remember, a razor-sharp chisel ensures clean cuts and a perfect fit. Keep honing your technique to master this craft. Start small, and gradually take on more complex projects. Enjoy the satisfaction of creating functional and beautiful door installations. Embrace the process, and let each project be a stepping stone to greater DIY achievements.