
Using the right tools in plumbing ensures efficiency and precision. A sink wrench plays a crucial role in plumbing tasks. This tool excels at installing or removing faucets, making it indispensable for both professionals and DIY enthusiasts. Understanding effective techniques for using a sink wrench can significantly enhance the ease and success of plumbing projects.
Understanding the Sink Wrench
What is a Sink Wrench?
Definition and Purpose
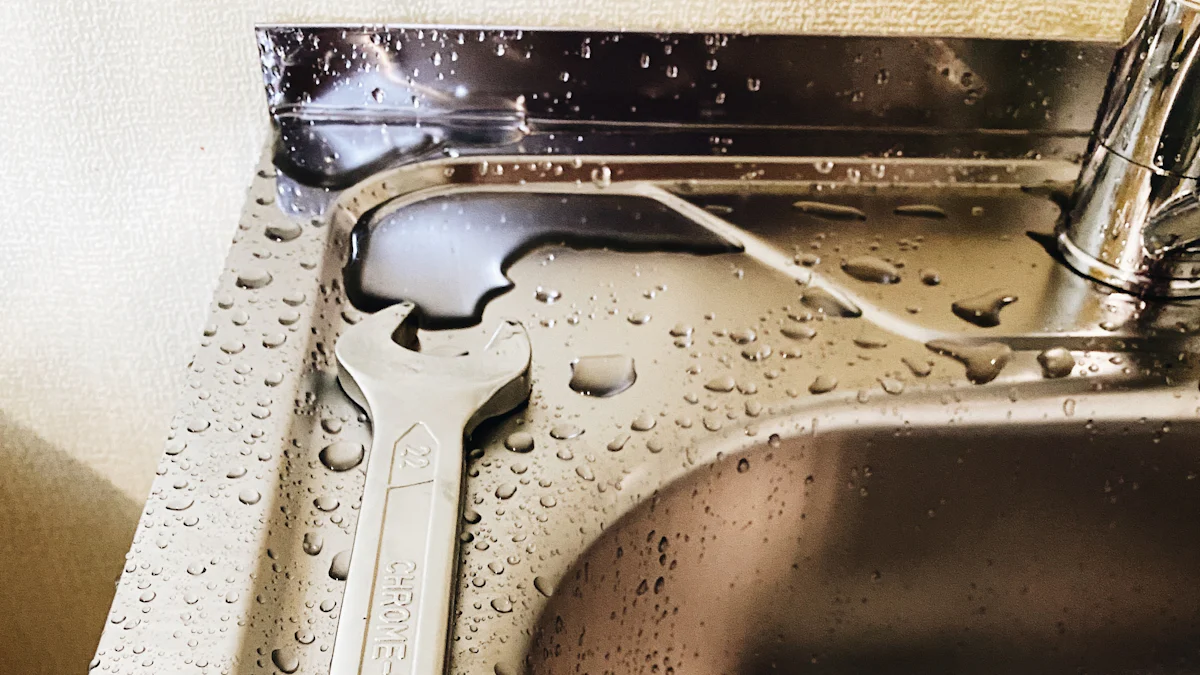
A sink wrench is a specialized plumbing tool designed for working in confined spaces. Plumbers and DIY enthusiasts use this tool to install or remove faucets. The sink wrench features a long handle and pivoting head, making it ideal for reaching nuts and bolts in tight areas under sinks.
Types of Sink Wrenches
There are different types of sink wrenches available:
- Standard Sink Wrench: This type has a fixed length and is suitable for most basic plumbing tasks.
- Telescoping Sink Wrench: This variant features an extendable handle, providing additional reach and leverage.
- Adjustable Sink Wrench: This type includes a jaw that can be adjusted to fit various sizes of nuts and bolts.
Components of a Sink Wrench
Handle
The handle of a sink wrench is typically long and slender. This design allows users to reach into tight spaces behind sinks. Some handles are telescoping, which means they can extend to provide extra reach. The handle often ends with a T-bar, which offers better grip and leverage.
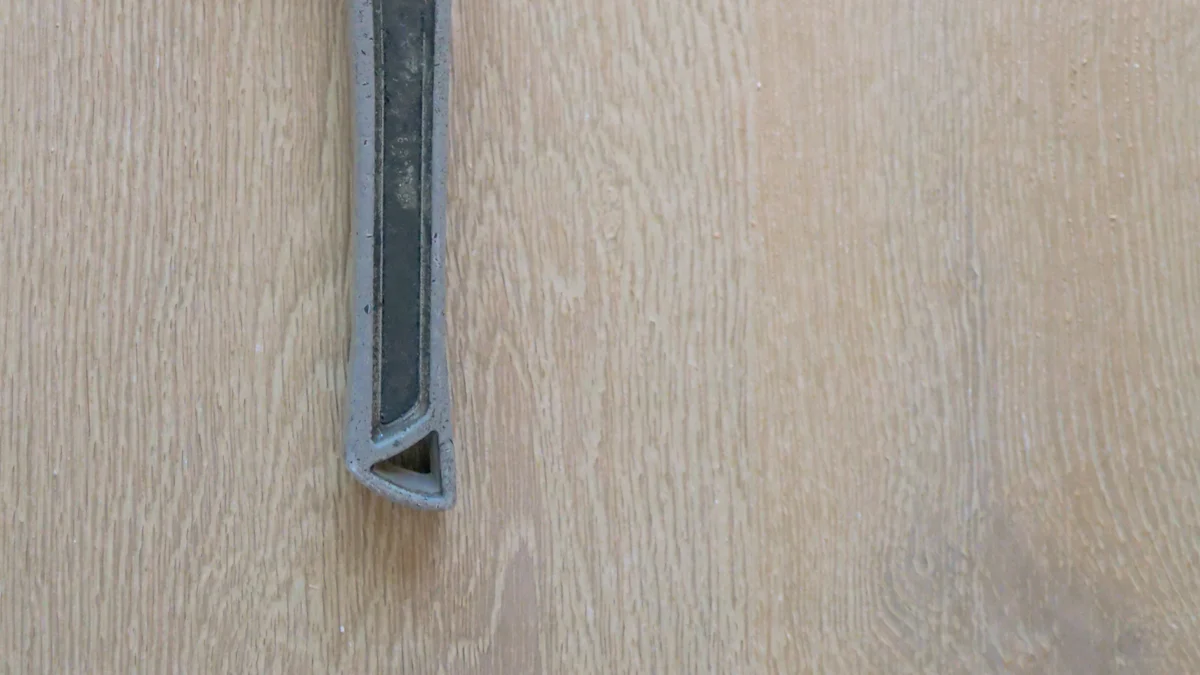
Jaw
The jaw of a sink wrench is crucial for gripping nuts and bolts. The jaw is usually spring-loaded and can pivot to adjust to different angles. This feature makes it easier to work in awkward positions. The jaw’s teeth grip the nut securely, preventing slippage during operation.
Adjustment Mechanism
The adjustment mechanism allows the jaw to fit various sizes of nuts and bolts. Users can tighten or loosen the jaw by turning a knob or lever. This feature ensures that the sink wrench can handle a wide range of plumbing tasks. Proper adjustment of the jaw is essential for effective use.
How to Use a Sink Wrench
Preparing for Use
Safety Precautions
Safety is paramount when using a sink wrench. Always wear safety goggles to protect your eyes from debris. Gloves can provide a better grip and protect your hands from sharp edges. Ensure the work area is well-lit to avoid mistakes. Turn off the water supply before starting any plumbing task.
Gathering Necessary Tools
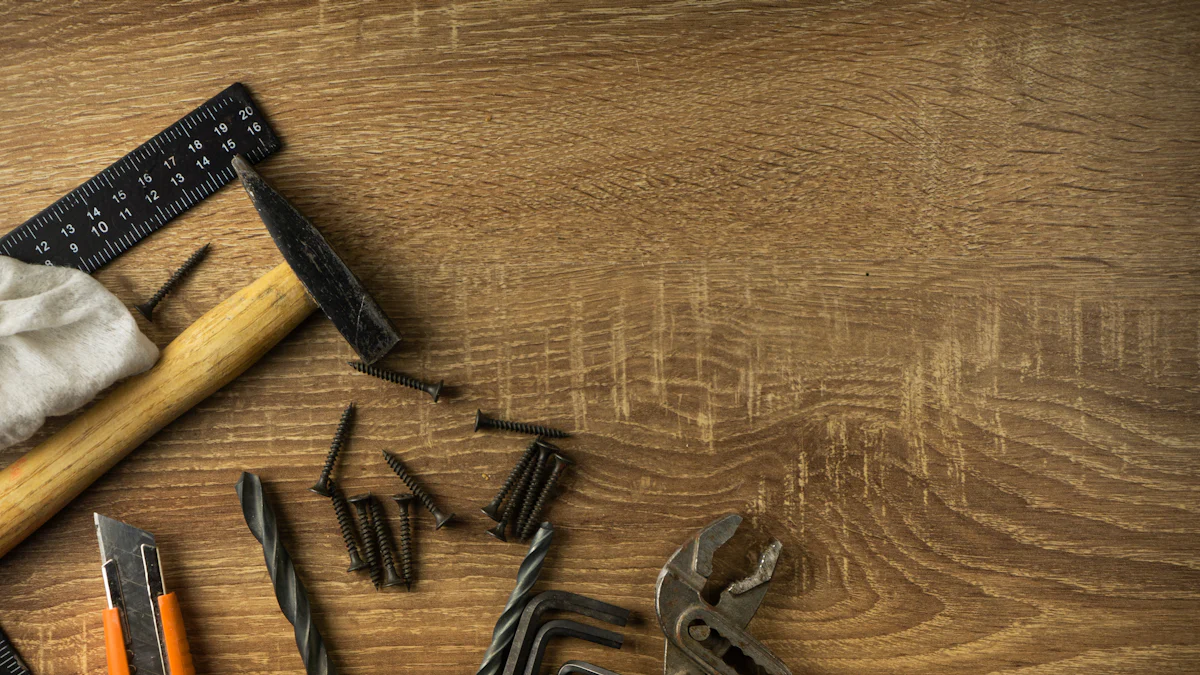
Gather all necessary tools before beginning. A sink wrench will be the primary tool. Additional tools may include a flashlight, penetrating oil, and a bucket to catch any water. Having everything ready will make the process smoother and more efficient.
Basic Operation
Positioning the Wrench
Position the sink wrench correctly for optimal performance. Place the jaw around the nut that needs tightening or loosening. Ensure the pivoting head is perpendicular to the shaft. This position allows for better leverage and control.
Adjusting the Jaw
Adjust the jaw of the sink wrench to fit the nut securely. Turn the adjustment knob or lever to tighten the jaw around the nut. A secure fit prevents slippage and ensures effective operation. Double-check the fit before applying any force.
Applying Torque
Apply torque to the sink wrench by turning the T-bar handle. Rotate counterclockwise to loosen the nut and clockwise to tighten it. Use steady, even pressure to avoid damaging the nut or surrounding pipes. If the nut is stubborn, apply penetrating oil and wait a few minutes before trying again.
Advanced Techniques
Working in Tight Spaces
Working in tight spaces requires special techniques. Use a telescoping sink wrench for additional reach. Extend the handle to access hard-to-reach nuts. Pivot the head to different angles to maneuver around obstacles. Patience and precision are key in confined areas.
Handling Stubborn Nuts
Stubborn nuts can be challenging. Use penetrating oil to loosen rust or corrosion. Apply the oil and wait 15 minutes. Use the sink wrench to turn the nut counterclockwise. If the nut remains stuck, try tapping it gently with a hammer to break the seal. Persistence and the right technique will eventually succeed.
Maintenance and Care
Proper maintenance and care extend the life of a sink wrench. Regular cleaning and correct storage prevent damage and ensure optimal performance.
Cleaning the Wrench
Removing Debris
Debris can accumulate on the sink wrench during use. Remove debris by wiping the tool with a clean cloth. For stubborn dirt, use a brush with stiff bristles. Ensure all moving parts are free from grime. This step prevents wear and tear.
Lubricating Moving Parts
Lubrication keeps the sink wrench functioning smoothly. Apply a few drops of oil to the pivoting head and adjustment mechanism. Move the parts back and forth to distribute the oil evenly. Regular lubrication reduces friction and prolongs the tool’s life.
Storing the Wrench
Proper Storage Conditions
Store the sink wrench in a dry, cool place. Avoid areas with high humidity. Moisture can cause rust and corrosion. Use a tool organizer or toolbox for storage. This practice keeps the sink wrench accessible and protected.
Preventing Rust
Rust can damage a sink wrench. After cleaning, dry the tool thoroughly. Apply a light coat of oil to the metal parts. This layer acts as a barrier against moisture. Regular maintenance prevents rust and ensures the tool remains effective.
Tips and Tricks
Common Mistakes to Avoid
Over-tightening
Over-tightening nuts can lead to damage. Excessive force can strip threads or crack fittings. Always apply moderate pressure. Stop turning when the nut feels snug. Check for leaks after tightening.
Incorrect Positioning
Incorrect positioning of the sink wrench can cause inefficiency. Ensure the jaw grips the nut securely. Place the pivoting head perpendicular to the shaft. This position provides optimal leverage. Reposition if the wrench slips.
Expert Tips
Enhancing Grip
Enhancing grip improves control. Wrap the handle with a rubber grip or tape. This addition reduces hand fatigue. Use gloves with a textured surface. Better grip prevents slippage during operation.
Using Extensions
Using extensions increases reach. Attach an extension bar to the handle. This tool helps in accessing deep or hard-to-reach areas. Ensure the extension is secure. Extensions provide additional leverage for stubborn nuts.
FAQs
Common Questions
What to do if the wrench slips?
A slipping wrench can cause frustration. Ensure a secure grip by adjusting the jaw properly. Clean the nut and wrench jaw to remove any debris or oil. Use a rubber grip on the handle for better control. Apply steady pressure when turning the wrench. If the nut remains stubborn, use penetrating oil to loosen it.
Can a sink wrench be used for other tasks?
A sink wrench proves useful for various plumbing tasks. Use it for installing or removing faucets in kitchens and bathrooms. Access nuts and fittings easily with its long handle and pivoting head. The tool works great for tight spaces under sinks and toilets. However, a sink wrench specializes in faucet mounting nuts. For other plumbing tasks, consider using different tools designed for specific purposes.
Using a sink wrench effectively enhances plumbing efficiency. Applying the techniques and tips shared ensures successful outcomes. Readers should practice these methods to improve their skills. Sharing experiences and asking further questions fosters community learning.
See Also
The Definitive Manual for Warm Winter with Soft Socks
Discovering the Range of Socks for Males and Females