
Precision in cutting drywall makes all the difference. You want those edges smooth and those corners sharp, right? Mastering the cut drywall tool is your ticket to achieving that professional finish. Imagine transforming your home with clean lines and perfect fits. That’s what accurate drywall cutting offers. Whether you’re fixing a wall or starting a new project, precision ensures everything looks top-notch. So, ready to dive into the world of drywall cutting? Let’s get started on making your projects shine!
Essential Drywall Cutting Tools
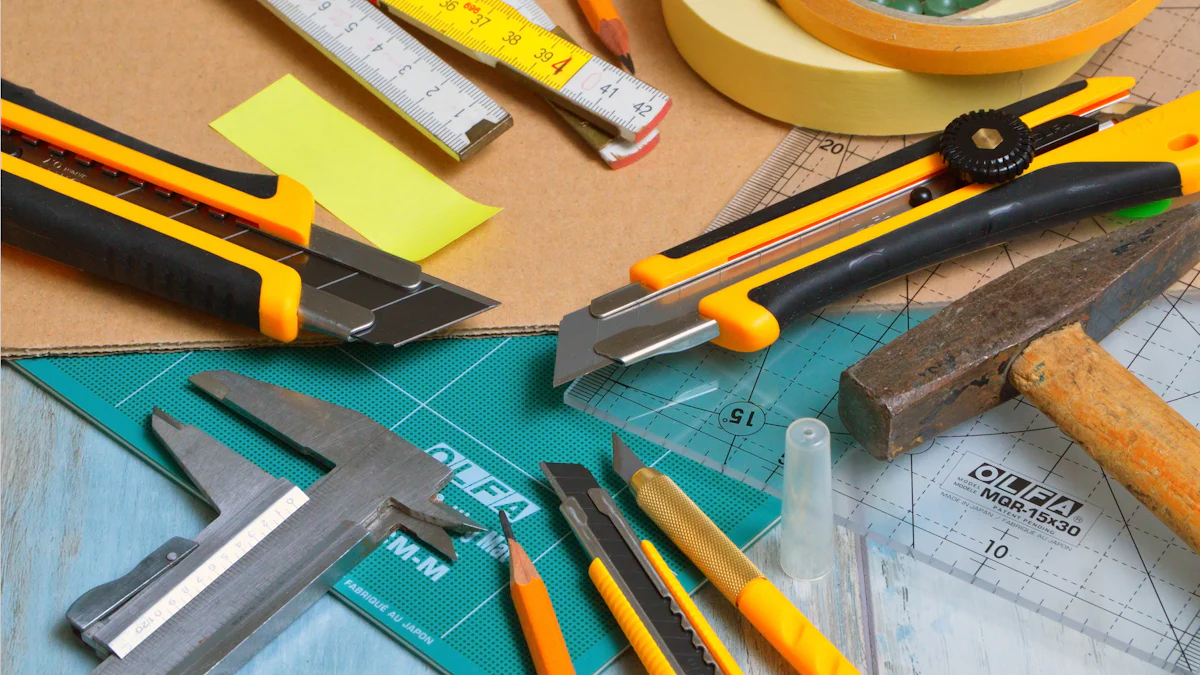
Basic Tools
Utility Knife
A utility knife stands as a must-have tool for any drywall project. You use this tool for scoring the drywall, which helps you make clean and straight cuts. A sharp blade makes all the difference. Always ensure the blade remains sharp to prevent jagged edges. You can easily replace the blade when it becomes dull. The utility knife offers precision in cutting drywall, making it an essential part of your toolkit.
Drywall Saw
A drywall saw comes in handy for larger cuts or when you need to cut out sections for outlets and fixtures. This tool has a pointed tip that allows you to start cuts in the middle of a drywall sheet. You push the saw through the drywall and then saw back and forth to complete the cut. The drywall saw provides the power needed for more substantial cuts, ensuring you achieve precise results.
Advanced Tools
Rotary Tool
The Rotary Tool offers versatility and precision for cutting drywall. This tool includes a cutting attachment and a 1/8″ drywall cutting bit, perfect for intricate cuts. You can adjust the depth gauge to maintain consistent cutting depth. An LED light on the tool illuminates your work area, enhancing visibility. The rotary tool’s design allows for quick bit changes, making it a favorite among DIY enthusiasts for its efficiency in cutting drywall.
Oscillating Multi-Tool
An oscillating multi-tool serves as another advanced option for drywall cutting. This tool excels in making plunge cuts and trimming edges. You attach a drywall blade to the tool and guide it along the marked lines. The oscillating action provides control and precision, making it ideal for detailed work. This tool’s versatility extends beyond drywall, offering solutions for various home improvement tasks.
Safety Equipment
Safety Glasses
Safety glasses protect your eyes from dust and debris during drywall cutting. You should always wear them when using any cut drywall tool. These glasses shield your eyes from potential hazards, ensuring a safe working environment.
Dust Mask
A dust mask is crucial for protecting your lungs from drywall dust. You wear a dust mask to prevent inhaling fine particles that can cause respiratory issues. This simple piece of safety equipment ensures you stay healthy while working on your project.
Preparing for the Cut
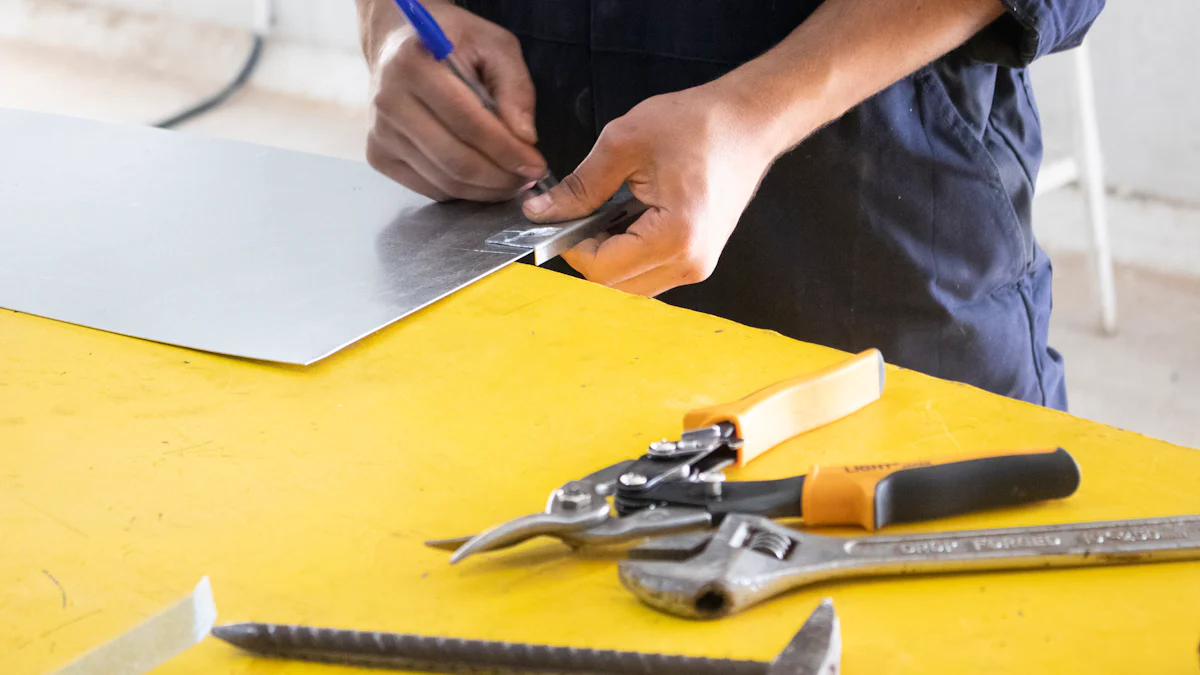
Measuring and Marking
Using a Tape Measure
A tape measure becomes your best friend when you start measuring drywall. You want to get those measurements spot on, right? So, grab that tape measure and stretch it across the drywall. Make sure the tape stays straight and taut. This helps you get an accurate measurement. Always double-check the numbers. You don’t want any surprises later on.
Marking with a Pencil
Now, let’s talk about marking. A pencil works great for this job. You need to make clear marks where you plan to cut. Hold the pencil firmly and draw along the measured line. Keep the line straight and visible. This guide ensures your cuts stay precise. A good mark makes all the difference in keeping your project on track.
Setting Up the Work Area
Ensuring Adequate Lighting
Lighting plays a huge role in cutting drywall. You need to see what you’re doing, right? Set up some bright lights around your work area. Make sure the light covers the entire surface of the drywall. Shadows can mess with your perception. Good lighting helps you follow those lines accurately.
Clearing the Area
A clean work area means fewer distractions. You want to focus on the task at hand. So, clear away any clutter or obstacles. Move tools and materials out of the way. This gives you space to move freely. A tidy area helps you concentrate better and reduces the risk of accidents.
Techniques for Precise Cuts
Scoring and Snapping
Scoring the Drywall
Scoring drywall requires a steady hand and a sharp utility knife. You want to start by holding the utility knife firmly. Press the blade lightly against the drywall surface. Make sure you cut through the paper layer without damaging the gypsum core. A straightedge or ruler can help guide your cut drywall tool along the marked line. This ensures a clean and precise score. Remember, patience is key here. Rushing might lead to uneven cuts.
Snapping Along the Score Line
After scoring, snapping the drywall becomes the next step. Hold the scored section with both hands. Apply gentle pressure until the drywall snaps along the score line. You’ll notice a clean break if the scoring was done correctly. Use the utility knife again to cut through the remaining paper on the back. This technique gives you a smooth edge and keeps your project looking professional.
Using Power Tools
Cutting with a Rotary Tool
A rotary tool offers precision for intricate cuts. Attach the appropriate bit to your rotary tool. Adjust the depth setting to match the drywall thickness. Start the tool and guide it slowly along your marked line. The rotary tool’s speed and control make it ideal for detailed work. Keep a firm grip to maintain accuracy. The LED light feature on some models can enhance visibility, making your task easier.
Handling an Oscillating Multi-Tool
An oscillating multi-tool excels in making plunge cuts. Attach a drywall blade to the tool. Position the blade at the starting point of your cut. Turn on the tool and guide it steadily along the line. The oscillating action allows for smooth and controlled cuts. This cut drywall tool proves versatile for various home improvement tasks. You’ll appreciate its ability to handle tight corners and edges with ease.
Troubleshooting Common Issues
Every DIY project comes with its own set of challenges. When you work with drywall, you might encounter some common issues. Don’t worry, though. You can fix these problems with a little know-how and the right cut drywall tool.
Dealing with Jagged Edges
Jagged edges can ruin the look of your drywall project. You want those edges smooth and clean, right? Here’s how to deal with them effectively.
Sanding Techniques
Sanding helps smooth out rough edges. Grab a sanding block or sandpaper. Use gentle, even strokes along the edge. This technique removes any small imperfections. Keep the pressure light to avoid damaging the drywall surface. A smooth finish makes your project look professional.
Using a Rasp
A rasp can help tackle more stubborn jagged edges. Hold the rasp firmly and run it along the edge. The rasp shaves off excess material, leaving a clean line. Use this cut drywall tool for areas where sanding alone doesn’t do the trick. A rasp offers precision and control, ensuring a neat finish.
Correcting Measurement Errors
Mistakes happen, especially with measurements. But don’t stress. You can correct these errors with a few simple steps.
Re-measuring and Adjusting
Start by re-measuring the area. Use a tape measure to double-check your numbers. Ensure the tape stays straight and taut. If you find an error, mark the correct measurement with a pencil. Adjust your cuts using the appropriate cut drywall tool. Accurate measurements keep your project on track.
Filling Gaps
Gaps between drywall sheets can occur due to measurement errors. Use joint compound to fill these gaps. Apply the compound with a putty knife. Smooth it out evenly over the gap. Allow the compound to dry before sanding it down. This step ensures a seamless finish, making the error invisible.
Troubleshooting these common issues requires patience and the right tools. Mastering these techniques enhances your drywall skills. You’ll find that each project becomes easier and more enjoyable. So grab your cut drywall tool and tackle those challenges head-on!
Mastering drywall cutting tools transforms your projects. Precision ensures smooth edges and perfect fits. Essential tools like utility knives and rotary tools make a difference. Safety gear like glasses and masks protect you. Practice these techniques to refine your skills. Approach each project with confidence. Remember, cutting drywall is not just about knowing how to do it. It’s about doing it like a pro. As one DIY enthusiast shared, using the right tools makes the job cleaner and more efficient. So, grab those tools and start cutting like a pro!