
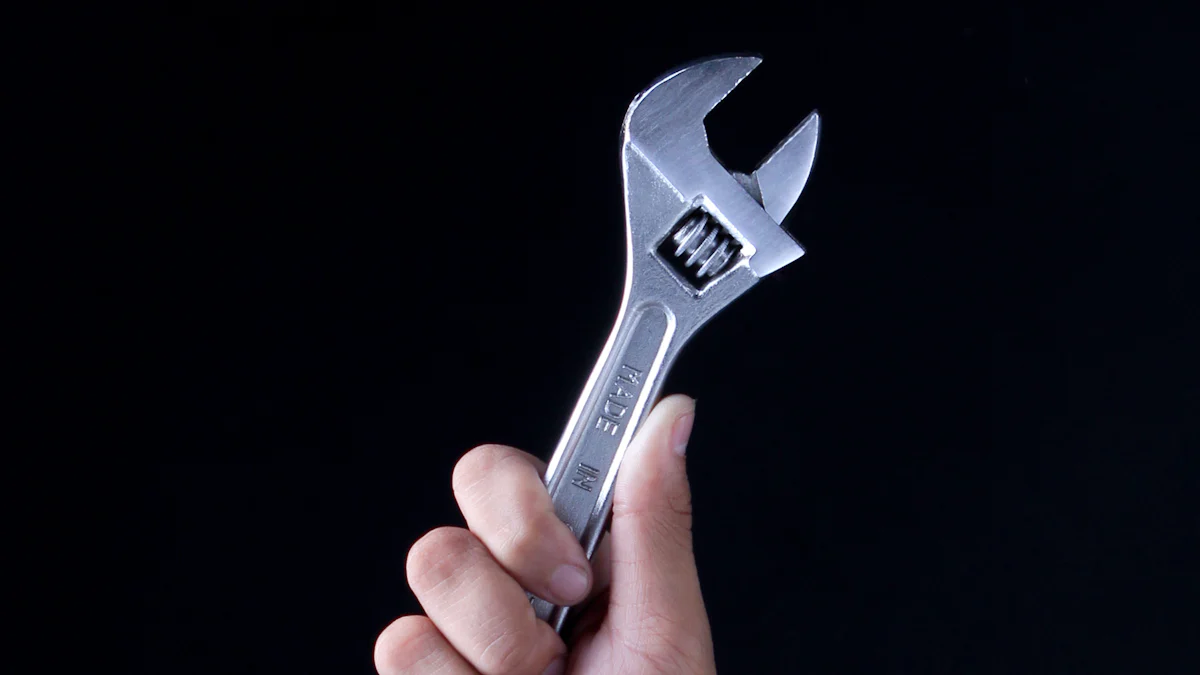
Mastering the tub nut spanner wrench can make plumbing tasks a breeze. This tool grips the notches on tub nuts securely, allowing you to loosen or tighten them with ease. Proper use of the tub nut spanner wrench ensures efficient work and prevents damage to your plumbing fixtures. This guide offers practical tips to help you handle this essential tool like a pro. Get ready to tackle those stubborn tub nuts with confidence and precision.
Understanding the Tub Nut Spanner Wrench
What is a Tub Nut Spanner Wrench?
Definition and purpose
A Tub Nut Spanner Wrench serves as a specialized tool in plumbing. This wrench grips the notches on tub nuts, allowing you to loosen or tighten them with precision. The design ensures a secure fit, preventing damage to plumbing fixtures.
Common uses in plumbing
Plumbers often use the Tub Nut Spanner Wrench for tasks involving washing machines and bathtubs. The wrench helps remove or install tub nuts efficiently. This tool proves essential when dealing with stubborn or corroded nuts.
Types of Tub Nut Spanner Wrenches
Adjustable vs. fixed
Adjustable spanner wrenches offer flexibility. You can modify the size to fit different nuts. This feature makes them versatile for various plumbing tasks. On the other hand, fixed spanner wrenches provide a precise fit for specific nut sizes. These wrenches work best when you frequently deal with the same type of nut.
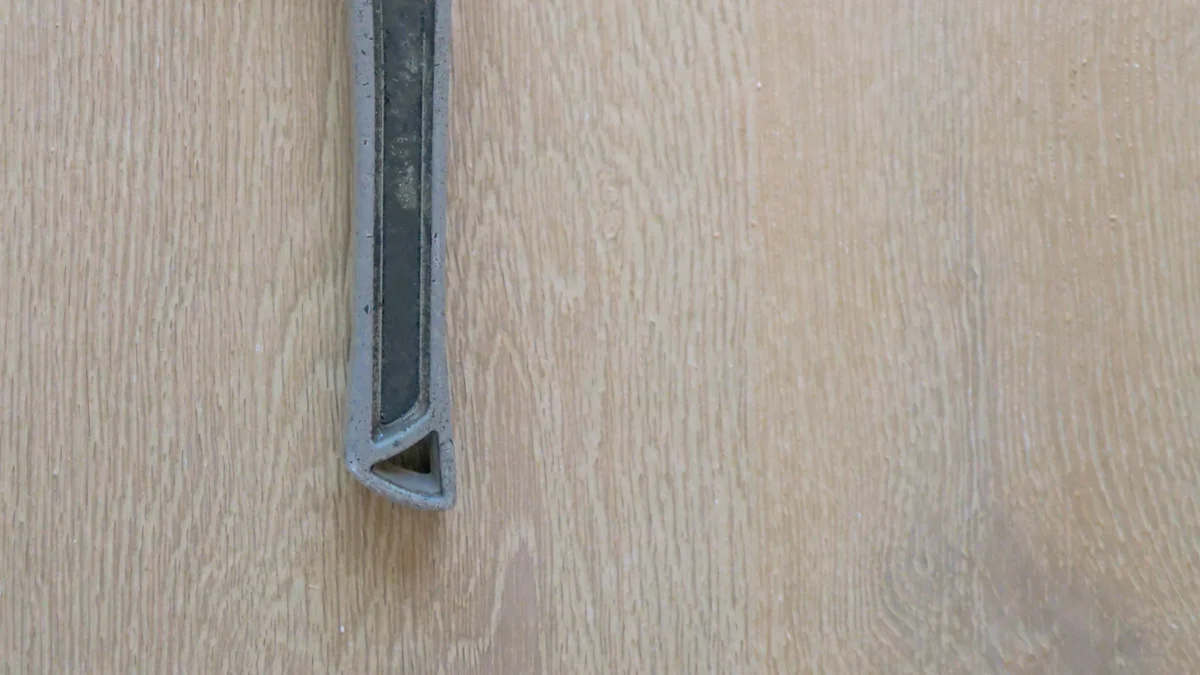
Material and design variations
Spanner wrenches come in different materials like steel or aluminum. Steel wrenches offer durability and strength. Aluminum wrenches provide a lightweight option. The design may include features like a spring-loaded retractable center pin. This pin helps align the wrench with the flange nut, making the task easier. Always ensure the wrench matches your specific plumbing needs for optimal performance.
Preparing to Use the Tub Nut Spanner Wrench
Safety Precautions
Personal protective equipment
Safety first! Always wear personal protective equipment when working with tools. Gloves protect your hands from sharp edges and slipping wrenches. Safety goggles shield your eyes from debris and unexpected splashes. A sturdy pair of boots keeps your feet safe from heavy objects.
Workspace preparation
A clean and organized workspace makes a big difference. Clear away any clutter or obstacles around the work area. Ensure good lighting to see what you’re doing. A well-lit space helps you avoid mistakes and accidents. Keep a first aid kit nearby for emergencies.
Gathering Necessary Tools and Materials
List of required tools
Gather all the tools before starting the task. The tub nut spanner wrench is essential. A hammer can provide extra force if needed. A flashlight helps illuminate dark areas. A bucket or container catches any water spills.
Additional materials needed
Additional materials come in handy. Penetrating oil like WD-40 loosens stubborn nuts. A cloth or rag wipes away dirt and grime. A small brush cleans hard-to-reach spots. Lubricant ensures smooth operation of moving parts.
Step-by-Step Guide to Using the Tub Nut Spanner Wrench

Step 1: Identifying the Tub Nut
First things first, you need to find the tub nut. Look around the base of your plumbing fixture. The tub nut usually hides beneath the washer or bathtub. Once you spot it, take a moment to check its condition. Is there rust or grime? A clean nut makes your job easier. If you see debris, wipe it away with a cloth. This simple step helps in using the tub nut spanner wrench effectively.
Step 2: Positioning the Wrench
Now, grab your tub nut spanner wrench. Adjust the size to fit the nut perfectly. A snug fit is crucial. You want the wrench’s teeth to align with the notches on the nut. This alignment ensures a firm grip. Hold the wrench steady. A secure position prevents slipping when you apply force. A well-positioned wrench makes the next steps a breeze.
Step 3: Loosening or Tightening the Nut
Time to get down to business. If you need to loosen the nut, strike the arm of the tub nut spanner wrench with a hammer. Make sure you hit it in the right direction. For right-hand threaded nuts, turn counter-clockwise. If the nut feels stubborn, try applying some penetrating oil like WD-40. Let it sit for about 30 minutes. This trick often works wonders. When tightening, ensure you don’t overdo it. A gentle touch keeps the fixture safe from damage. Always remember, the right technique makes all the difference.
Step 4: Final Checks and Adjustments
Inspecting the work
Take a moment to inspect the work. Look closely at the tub nut and surrounding area. Make sure the nut sits securely in place. Check for any signs of damage or wear. A well-secured nut ensures that plumbing fixtures function properly. Use a flashlight to illuminate hard-to-see areas. This step helps catch any potential issues before they become bigger problems.
Making necessary adjustments
Sometimes, adjustments are necessary. If the nut seems loose, tighten it carefully. Avoid applying too much force to prevent damage. If the nut appears too tight, loosen it slightly for optimal performance. Use the tub nut spanner wrench to make precise adjustments. A snug fit guarantees that everything works smoothly.
Remember, patience and attention to detail make a big difference. Take your time to ensure everything looks perfect. A little extra effort now saves you from headaches later.
Troubleshooting Common Issues
Dealing with Stubborn Nuts
Stubborn nuts can test your patience. You might need some extra leverage to get the job done. A longer handle on your wrench can help. More force gets applied with a longer handle. You can also use a hammer to tap the wrench gently. This action can loosen the nut without much effort.
Lubricants work wonders on stuck nuts. Apply a penetrating oil like WD-40. Let the oil sit for about 30 minutes. The oil seeps into the threads and loosens the grip. You might find the nut easier to turn after this step. Always keep some lubricant handy for tough situations.
Avoiding Tool Damage
Taking care of your tools ensures they last longer. Proper maintenance keeps your spanner wrench in top shape. Clean the wrench after each use. Wipe away any dirt or grime. Store the wrench in a dry place. Moisture can cause rust, which weakens the tool.
Recognizing signs of wear helps prevent damage. Look for cracks or bends in the wrench. These signs indicate that the tool might fail soon. Replace worn-out wrenches promptly. Using a damaged tool can lead to accidents. Regular checks keep your tools safe and reliable.
Mastering the tub nut spanner wrench involves understanding its purpose, preparing your workspace, and following a step-by-step approach. Practice regularly to build confidence in handling this tool. Regular use will make you more efficient and ensure safety. Share your experiences or questions in the comments. Engaging with others can provide new insights and tips for using the tub nut spanner wrench effectively. Remember, every effort you make today leads to smoother plumbing tasks tomorrow.