
Tenon cutting tools play a crucial role in woodworking. These tools allow woodworkers to create precise joints that enhance the strength and aesthetics of wooden structures. Mastering a tenon cutting tool offers several benefits. Efficiency increases as these tools streamline the process, reducing the time spent on each joint. Safety improves because tenon cutting tools provide consistent results, minimizing the risk of errors. Woodworkers can achieve perfect tenons every time by using specialized methods involving a lathe and jig. The right tenon cutting tool transforms woodworking projects, making them more enjoyable and rewarding.
Understanding Tenon Cutters
What are Tenon Cutters?
Definition and purpose
A tenon cutting tool shapes the end of a wooden piece into a tenon. This tenon fits snugly into a mortise, forming a strong joint. Woodworkers use tenon cutters to create precise and uniform tenons. This precision enhances the structural integrity of furniture and other wooden constructions.
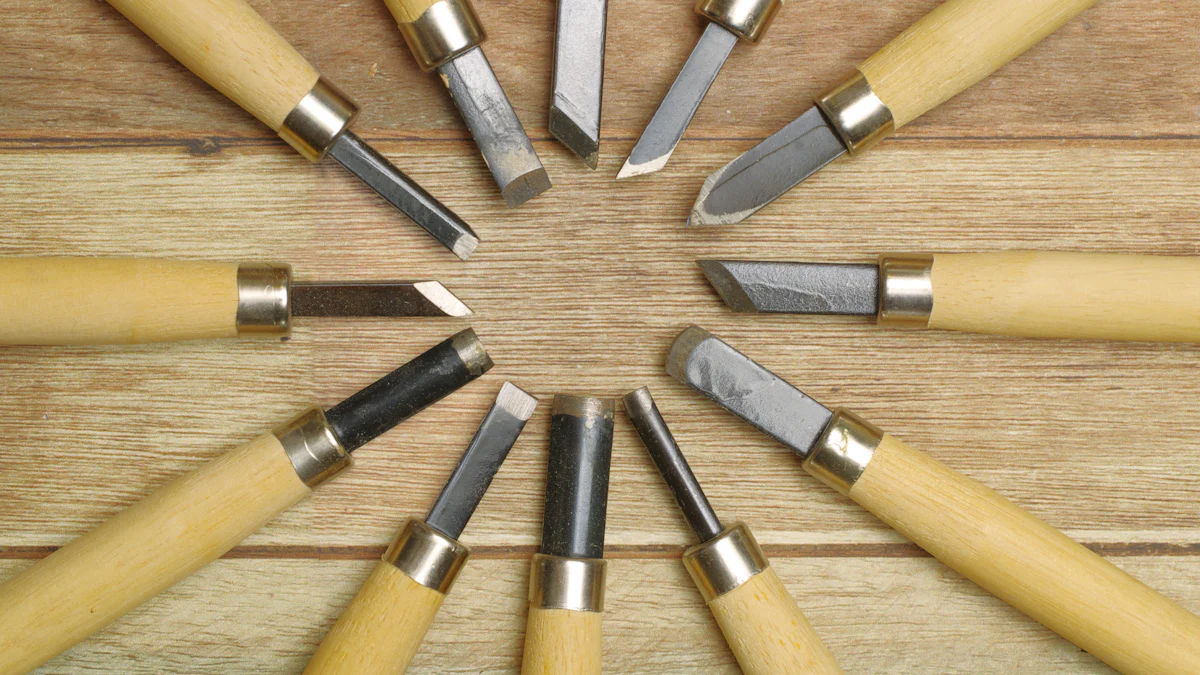
Types of tenon cutters
Tenon cutters come in various types, each suited for specific tasks. Custom Tenon Cutters offer flexibility with sizes tailored to individual needs. These cutters often feature a six-degree taper, matching reamers for perfect alignment. Commercial Series Tenon Cutters provide a cost-effective solution for achieving a rustic look. Available in sizes like 1”, 1-1/2”, and 2”, these cutters cater to log furniture projects. Veritas Tenon Cutters stand out for their powered design, eliminating the need for a pointer. The curved cutter shaves the wood efficiently, ensuring smooth tenons. Log Tenon Cutters boast a self-centering design, producing perfectly shaped tenons with dual blades for faster cutting.
Key Features of Tenon Cutters
Material and build quality
The material and build quality of a tenon cutting tool significantly impact performance. High-quality materials ensure durability and precision. Aluminum-body tenon cutters, for example, offer smooth cuts with radiused shoulders. This design minimizes wear and tear, extending the tool’s lifespan. The choice of material also affects the weight and handling of the cutter, influencing user comfort and control.
Size and compatibility
Size and compatibility play crucial roles in selecting a tenon cutting tool. The size must match the project requirements to achieve the desired results. For instance, a 1” cutter may suit smaller projects, while a 2” cutter fits larger tasks. Compatibility with existing tools and equipment ensures seamless integration into the workflow. Proper sizing and compatibility enhance efficiency and accuracy, leading to better project outcomes.
Preparing for Tenon Cutting
Selecting the Right Tenon Cutting Tool
Factors to consider
Choosing the right tenon cutting tool involves several important factors. First, evaluate the material of the tool. High-quality materials ensure durability and precision. Aluminum-body tools often provide smooth cuts and extended lifespan. Next, consider the size of the tenon cutting tool. The size must align with the project’s requirements. A 1-inch cutter suits smaller tasks, while a 2-inch cutter fits larger projects. Compatibility with existing equipment is crucial. Ensure the tool integrates seamlessly into your workflow. Finally, assess the ease of use and maintenance. Tools designed for user-friendliness enhance efficiency and reduce errors.
Matching cutter to project needs
Matching the tenon cutting tool to project needs requires careful assessment. Identify the specific requirements of your woodworking project. For rustic furniture, consider commercial series tenon cutters. These cutters offer a cost-effective solution for achieving a traditional look. Custom tenon cutters provide flexibility with sizes tailored to individual needs. Projects requiring precise alignment benefit from Veritas tenon cutters. These powered tools eliminate the need for a pointer, ensuring smooth tenons. Log tenon cutters with self-centering designs produce perfectly shaped tenons quickly. Choose a tool that aligns with your project’s goals and enhances the final outcome.
Setting Up Your Workspace
Safety precautions
Safety is paramount when preparing for tenon cutting. Start by wearing appropriate personal protective equipment. Safety goggles protect your eyes from flying debris. Ear protection guards against loud noises from power tools. Ensure a clean and organized workspace. Clutter increases the risk of accidents. Keep tools and materials within easy reach. Proper lighting is essential for visibility and precision. Inspect all equipment before use to ensure functionality. Regular maintenance prevents malfunctions and enhances safety. Always follow manufacturer guidelines for operating tenon cutting tools safely.
Necessary tools and equipment
Setting up your workspace requires specific tools and equipment. Begin with a reliable tenon cutting tool. Choose a model that suits your project’s needs. A sturdy workbench provides stability during cutting. Clamps secure the wood, preventing movement. A level ensures accurate alignment of the tenon cutting tool. A drill or lathe powers the cutter, depending on the tool type. A jig aids in achieving consistent results. Sandpaper smooths any rough edges after cutting. Keep a measuring tape handy for precise measurements. Having the right tools ready enhances efficiency and accuracy in your woodworking projects.
Step-by-Step Guide to Using Tenon Cutters
Initial Setup
Assembling the tenon cutting tool
Begin by gathering all components of the tenon cutting tool. Ensure that each part is clean and free from debris. Align the cutter head with the handle. Secure the connection using the provided screws or bolts. Tighten these fasteners to prevent any movement during operation. Verify that the blade is sharp and properly aligned. A well-assembled tool enhances precision and safety.
Adjusting settings for precision
Adjust the tenon cutting tool settings to match the project requirements. Set the cutting depth according to the desired tenon size. Use a measuring tape to confirm accuracy. Adjust the angle of the cutter head if necessary. Ensure that the tool is level and stable. A level vial can help maintain balance. Proper adjustments lead to consistent and precise cuts.
Cutting the Tenon
Positioning the wood
Place the wood securely on the workbench. Use clamps to hold the wood in place. Ensure that the wood is aligned with the tenon cutting tool. A level helps achieve proper alignment. Check that the wood is free from knots or imperfections. Proper positioning prevents errors during cutting.
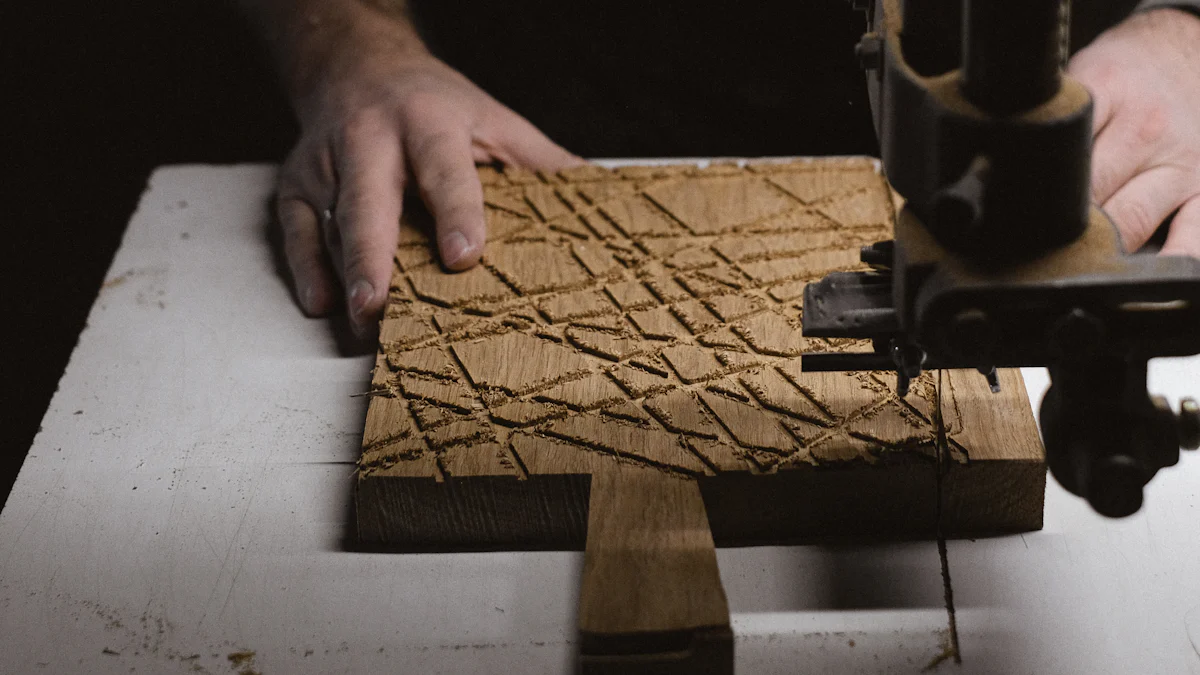
Executing the cut
Start the tenon cutting tool at a steady speed. Maintain a firm grip on the tool handle. Guide the cutter along the wood surface. Keep the tool level to ensure uniform cuts. Monitor the progress and adjust speed as needed. Avoid applying excessive pressure. Allow the tool to do the work. A smooth and controlled approach results in a clean tenon.
Finishing Touches
Inspecting the tenon
Examine the tenon for any imperfections. Check the dimensions using a measuring tape. Ensure that the tenon fits snugly into the mortise. Look for any rough edges or splinters. A thorough inspection guarantees a strong joint.
Making adjustments if necessary
Make any necessary adjustments to the tenon. Use sandpaper to smooth rough areas. Trim excess material with a chisel if needed. Recheck the fit of the tenon in the mortise. Repeat the cutting process if significant changes are required. Accurate adjustments enhance the quality and durability of the joint.
Troubleshooting Common Issues
Uneven Cuts
Causes and solutions
Uneven cuts often result from improper tool alignment. Ensure the tenon cutter remains level during operation. A level vial can assist with maintaining balance. Incorrect feed speed may also cause unevenness. Maintain a steady pace to avoid wandering cuts. Wood with knots or imperfections can disrupt the cutting process. Inspect the wood before starting to ensure a smooth surface. A dull blade may lead to irregular cuts. Regularly sharpen the blade for optimal performance.
Cutter Jamming
Prevention and fixes
Cutter jamming occurs when debris accumulates in the tool. Clean the cutter regularly to prevent blockages. Proper stock preparation reduces the risk of jamming. Start with a well-prepared cylinder for tapered tenon cutters. Excessive force during operation may cause jams. Allow the tool to work at its own pace without applying too much pressure. Misalignment of the workpiece can lead to jamming issues. Keep the workpiece centered in the cutter’s infeed. Adjust the cutter’s speed to avoid straining the tool. A controlled speed ensures smooth operation and minimizes jams.
Mastering the tenon cutting tool transforms woodworking projects. A well-executed tenon enhances joint strength and aesthetics. Practicing with the tenon cutting tool improves skill and precision. Experimentation with different techniques leads to better results. Many woodworkers find that hand-cut tenons offer more satisfaction and quality. A router table or bandsaw provides a fast and clean finish. Share your experiences with the tenon cutting tool. Ask questions to learn from others in the woodworking community. Your journey with the tenon cutting tool will lead to rewarding outcomes.