
Woodworking enthusiasts often seek tools that enhance precision and efficiency. The tenon cutting tool stands out as an essential device for creating perfect joints. Tenon joints play a crucial role in woodworking, providing strength and durability. A well-crafted tenon joint ensures stability in furniture and structural components. Mastering the tenon cutting tool can elevate woodworking projects to a professional level. Understanding the dimensions of mortises, such as making the width one third of the rail and the height three quarters of the rail, contributes to achieving optimal results.
Understanding the Tenon Cutting Tool
What is a Tenon Cutting Tool?
Definition and Purpose
A tenon cutting tool creates precise tenon joints in woodworking. This tool shapes the end of a piece of wood to fit into a corresponding mortise. The tenon joint provides a strong connection between two pieces of wood. Woodworkers use this tool to achieve accurate and consistent results.
Types of Tenon Cutting Tools
Several types of tenon cutting tools exist. Each type serves different purposes and suits various skill levels.
- Handheld Tenon Cutters: These tools require manual operation. Users rotate the cutter by hand to shape the tenon. Handheld tenon cutters offer control and precision, making them ideal for detailed work.
- Power Tenon Cutters: These tools attach to a drill. The drill spins the cutter to create the tenon quickly. Power tenon cutters, like the Veritas Power Tenon Cutter, provide efficiency and consistency.
- Pro Tenon Cutters: Tools like the 1-1/2″ Pro Tenon Cutter handle more demanding tasks. These cutters create semi-structural joints for furniture and other projects. Homeowners, hobbyists, and professionals use these versatile tools.
Importance of Tenon Joints
Strength and Durability
Tenon joints offer exceptional strength and durability. The design of the joint distributes stress evenly across the wood. This distribution prevents splitting and ensures long-lasting connections. Properly crafted tenon joints withstand significant weight and pressure.
Common Applications in Woodworking
Woodworkers use tenon joints in various projects. Furniture makers rely on these joints for tables, chairs, and beds. The tenon cutting tool creates joints for handrails, spindles, and balusters. Outdoor projects also benefit from tenon joints. Garden structures and benches gain stability and longevity from these joints.
“The typical proportion is that the tenon length is 3/4 of the height of the rail.” – Tenon Cutting Process
Setting Up the Tenon Cutting Tool
Proper setup of the tenon cutting tool ensures accurate and efficient cuts. A well-prepared workspace and correctly adjusted tool contribute to achieving perfect tenon joints.
Positioning the Tool
Choosing the Right Workbench
A sturdy workbench provides a stable foundation for the tenon cutting tool. Select a bench with a flat, even surface. The bench should support the weight of the tool and the wood piece. Ensure the workbench height allows comfortable operation.
Securing the Tool
Secure the tenon cutting tool firmly to the workbench. Use clamps or bolts to prevent movement during use. Stability enhances precision and safety. Verify that the tool remains immobile before starting any cuts.
Adjusting the Tool
Blade Alignment
Align the blade of the tenon cutting tool accurately. Misalignment can result in uneven cuts. Place a straightedge along the blade to check alignment. Adjust the blade position as necessary. Tighten all screws and bolts to maintain alignment during operation.
Depth and Width Settings
Set the depth and width of the tenon cut according to project requirements. Use the tool’s adjustment knobs to modify these settings. Measure the wood piece to determine the desired tenon dimensions. Ensure the settings match the measurements for consistent results.
“Moxon championed the ‘Maurice way’ of chopping a mortise.” – Maurice Fraser
The “Maurice way” emphasizes precise adjustments for optimal performance. Practice adjusting the tenon cutting tool to become familiar with its mechanisms. Mastery of these adjustments leads to better woodworking outcomes.
Using the Tenon Cutting Tool
Operating the Tool
Safety Precautions
Safety must always come first when using the tenon cutting tool. Wear safety goggles to protect your eyes from wood chips and dust. Use ear protection to guard against loud noises from power tools. Ensure that loose clothing, jewelry, or long hair does not get caught in the tool. Keep hands away from the blade during operation. Always disconnect the power source before making any adjustments to the tool.
Step-by-Step Cutting Process
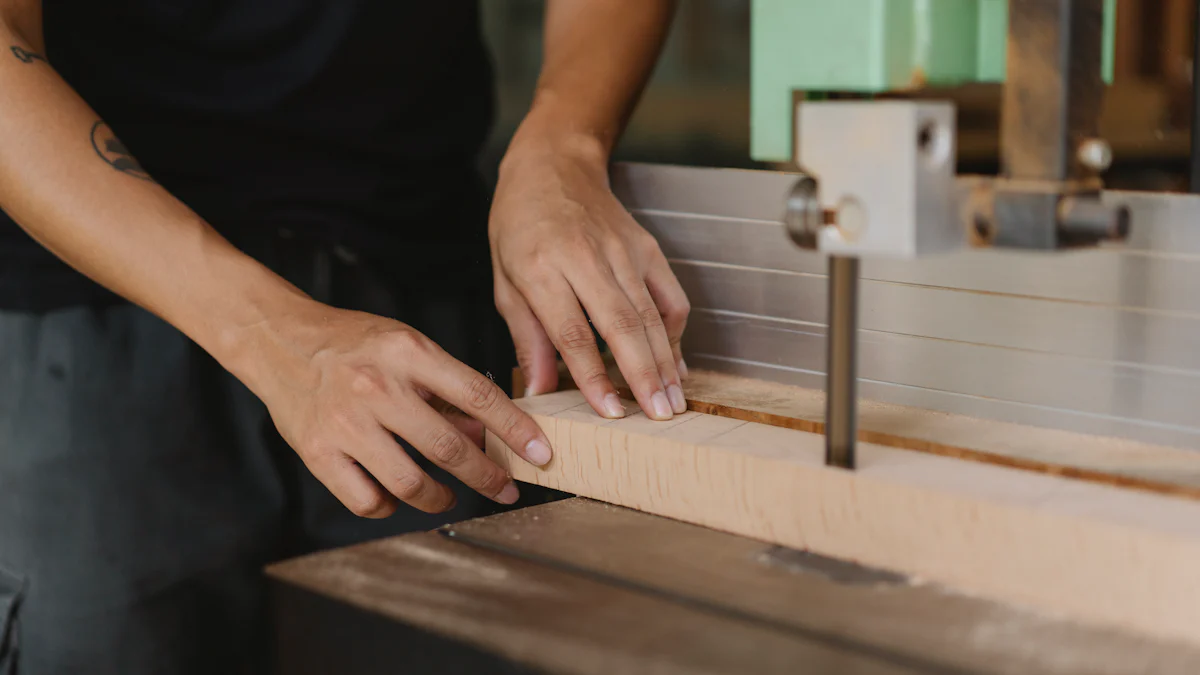
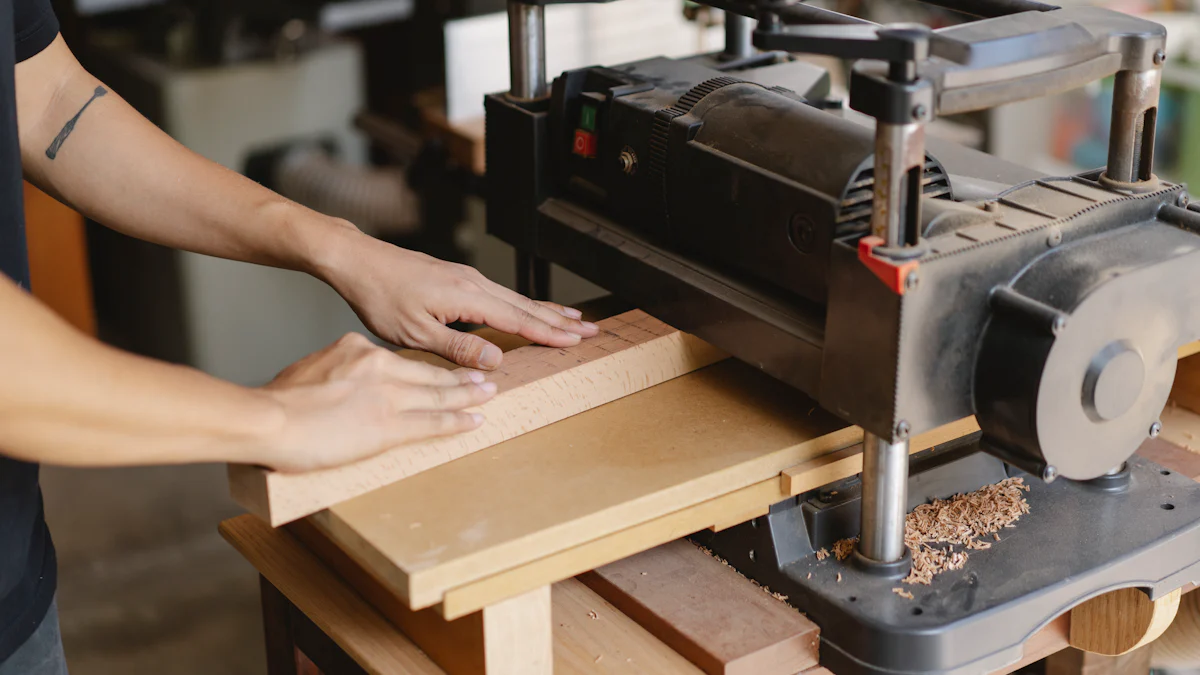
- Prepare the Wood: Cut the end of the workpiece square before using the tenon cutting tool. This ensures a clean and precise tenon.
- Position the Tool: Place the tenon cutter on the end of the wood. Rotate it by hand until the level vial is at the top. Adjust the drill left or right by eye so that it aligns with the wood piece.
- Adjust the Blade: Put a screwdriver against the blade and tap it with a hammer to adjust. Give yourself a 1/2″ of space to slip the spindle into the mouth of the tenon cutter without touching the blade.
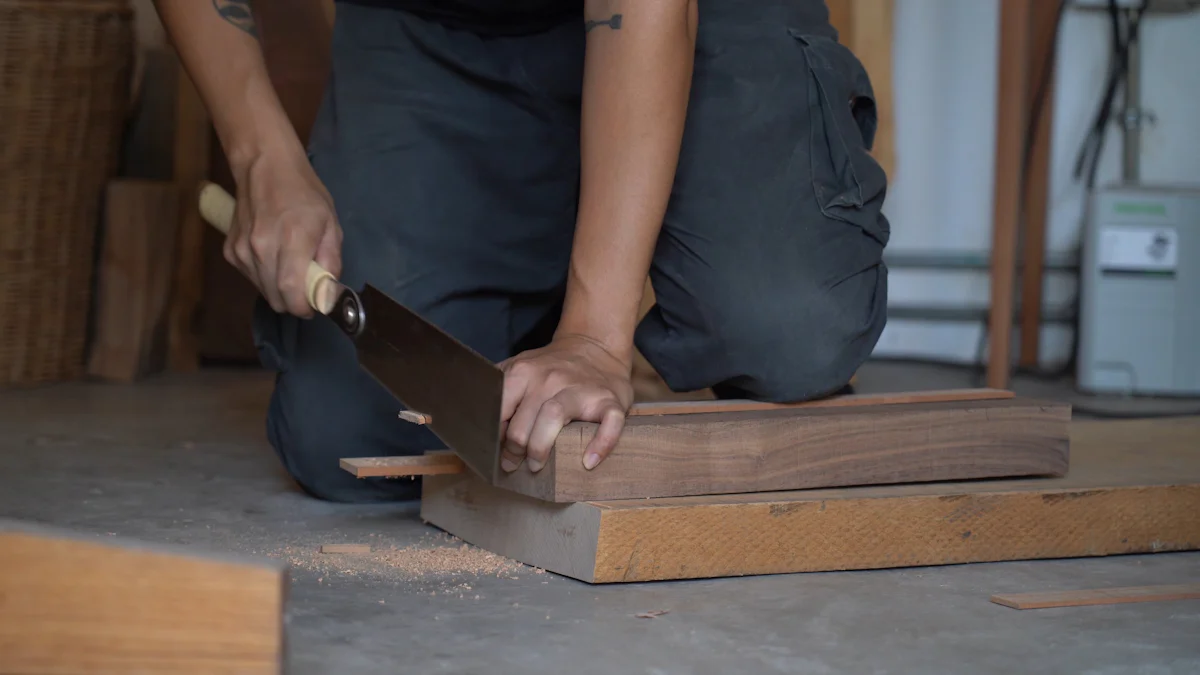
- Cut the Tenon: Use a hand saw to make shallow cuts around the shoulders of the tenon. Chop straight down with a chisel and mallet starting at the corners of the tenon. For round tenons, rotate the plug gauge in the tenon cutter so that either of the two round surfaces faces the blade.
- Check the Fit: Insert the tenon into the mortise to check the fit. Make any necessary adjustments to ensure a snug and secure joint.
Practical Tips
Ensuring Precision
Precision is key to achieving perfect tenon joints. Use the In-Sight Measurement System, which allows you to see the tenon while cutting. This system helps in making accurate adjustments. Practice cutting tenons to improve technique immediately. Measure twice and cut once to avoid mistakes. Use a straightedge to verify the alignment of the blade.
Avoiding Common Mistakes
Avoid common mistakes by following these guidelines:
- Misaligned Cuts: Ensure the blade aligns properly with the wood piece. Misalignment can cause uneven cuts.
- Tool Malfunctions: Regularly maintain the tenon cutting tool. Check for any loose screws or bolts. Lubricate moving parts to ensure smooth operation.
- Inconsistent Tenon Sizes: Use the adjustment knobs to set the depth and width accurately. Double-check measurements before cutting.
- Improper Securing: Secure the tool firmly to the workbench. Stability prevents movement during use, enhancing precision and safety.
“Includes the In-Sight Measurement System, which allows you to see the tenon while cutting.” – Lumberjack Tools
Mastering the tenon cutting tool requires practice and attention to detail. Following these steps and tips will help achieve professional-quality tenon joints.
Practicing the Technique
Beginner Exercises
Simple Tenon Cuts
Beginner woodworkers should start with simple tenon cuts. Use a handheld tenon cutter for better control. Place the cutter on the end of the wood piece. Rotate the cutter by hand to shape the tenon. Ensure the blade aligns with the wood. Make shallow cuts around the shoulders of the tenon. Use a chisel and mallet to refine the shape. Check the fit of the tenon in the mortise. Adjust as necessary for a snug fit.
Gradual Complexity
Gradually increase the complexity of the tenon cuts. Practice cutting tenons of different sizes. Use the adjustment knobs on the tool to modify depth and width settings. Create tenons for various types of joints. Experiment with different wood types. Observe how different woods respond to the cutting process. This practice helps in understanding the nuances of the tool and material.
Advanced Techniques
Complex Joints
Advanced woodworkers can attempt complex joints. Use a power tenon cutter for efficiency. Attach the cutter to a drill. Position the tool on the wood piece. Adjust the blade using a screwdriver and hammer. Give a 1/2″ space to slip the spindle into the mouth of the cutter. Rotate the plug gauge in the cutter for round tenons. Make precise cuts for intricate joints. Ensure the tenon fits perfectly into the mortise.
Custom Tenon Shapes
Create custom tenon shapes for unique projects. Use a pro tenon cutter for demanding tasks. Tools like the Lumberjack Tools Pro Tenon Cutters handle semi-structural joints. Shape the tenon to match specific design requirements. Use a hand saw and chisel for detailed work. Practice creating tenons with varying lengths and widths. Experiment with different angles and curves. Custom tenon shapes add a professional touch to woodworking projects.
“The typical proportion is that the tenon length is 3/4 of the height of the rail.” – Tenon Cutting Process
Mastering these techniques requires patience and practice. Regularly maintain the tenon cutting tool for optimal performance. Lubricate moving parts and check for loose screws. Consistent practice leads to improved skill and precision.
Troubleshooting Common Issues
Identifying Problems
Misaligned Cuts
Misaligned cuts often occur when the tenon cutting tool is not properly aligned with the wood piece. This misalignment can lead to uneven and inaccurate tenons. Woodworkers must ensure that the blade of the tenon cutting tool aligns perfectly with the workpiece. Regularly checking the alignment before each cut can prevent this issue.
Tool Malfunctions
Tool malfunctions can disrupt the cutting process and result in poor-quality tenons. Common malfunctions include loose screws, dull blades, and mechanical failures. Regular maintenance of the tenon cutting tool can help identify and fix these issues before they affect the work. Ensuring that all parts of the tool are in good working condition is essential for smooth operation.
Solutions and Fixes
Realigning the Tool
To realign the tenon cutting tool, follow these steps:
- Check Blade Alignment: Place a straightedge along the blade to ensure it aligns with the wood piece. Adjust the blade position if necessary.
- Secure the Tool: Ensure that the tool is firmly secured to the workbench. Use clamps or bolts to prevent any movement during operation.
- Test Cuts: Perform test cuts on scrap wood to verify the alignment. Make adjustments as needed to achieve precise cuts.
Proper alignment ensures that the tenon cutting tool produces accurate and consistent tenons.
Maintenance Tips
Regular maintenance of the tenon cutting tool can prevent malfunctions and extend its lifespan. Here are some maintenance tips:
- Lubricate Moving Parts: Apply lubricant to moving parts to ensure smooth operation. This reduces friction and wear on the tool.
- Tighten Screws and Bolts: Regularly check and tighten all screws and bolts. Loose components can cause the tool to malfunction.
- Sharpen Blades: Keep the blades sharp to ensure clean cuts. Dull blades can result in ragged and uneven tenons.
- Clean the Tool: Remove any wood chips and dust from the tool after each use. This prevents buildup that can affect performance.
Following these maintenance tips helps keep the tenon cutting tool in optimal condition, ensuring reliable and precise cuts.
Mastering the tenon cutting tool requires understanding its setup, operation, and maintenance. Regular practice enhances precision and skill. Woodworkers should start with simple cuts and progress to complex joints. Consistent use of safety measures ensures a safe working environment. Proper alignment and maintenance prevent common issues. Achieving perfect tenon joints elevates woodworking projects to a professional level. Dedication to refining techniques leads to exceptional craftsmanship.
See Also
Scooter Upgrades: High-Quality Parts for Optimal Performance
Winter Warmth: Cozy Guide to Fuzzy Towel Socks
Dive into Diverse Sock Options for Both Genders