
Cricut cutting tools open up a world of creative possibilities. Learning to use these tools effectively can transform your crafting projects. Many new users identify as beginner crafters, showing a growing interest in Cricut tools. Starting your crafting journey with Cricut cutting tools can be exciting and fulfilling. Embrace the learning process and enjoy the creative freedom that comes with mastering these tools.
Getting Started with Cricut Cutting Tools
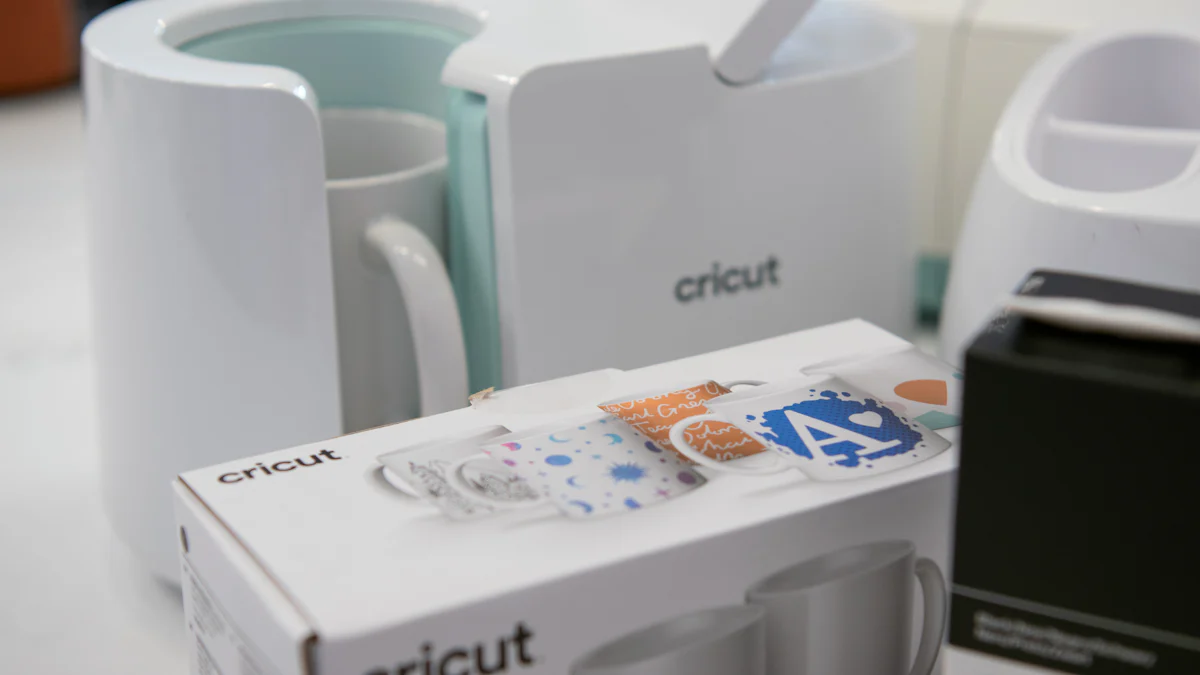
Overview of Cricut Machines
Different Models Available
Cricut offers several models to suit different crafting needs. The Cricut Maker stands out for its versatility. This model can cut over 300 materials, including balsa wood and fabric. The Cricut Explore series provides a balance of functionality and affordability. This series can cut and draw on various materials. The Cricut Joy is compact and perfect for quick, everyday projects. Each model offers unique features that cater to different crafting levels.
Basic Features and Functions
Each Cricut machine comes with essential features. The Cricut Maker includes a Rotary Blade for precise fabric cutting. The Cricut Explore series features a sharp blade for cutting and drawing. The Cricut Joy excels in portability and ease of use. All models connect to Cricut’s Design Space software. This software allows users to create and customize designs. The machines also support various tools for scoring, engraving, and debossing.
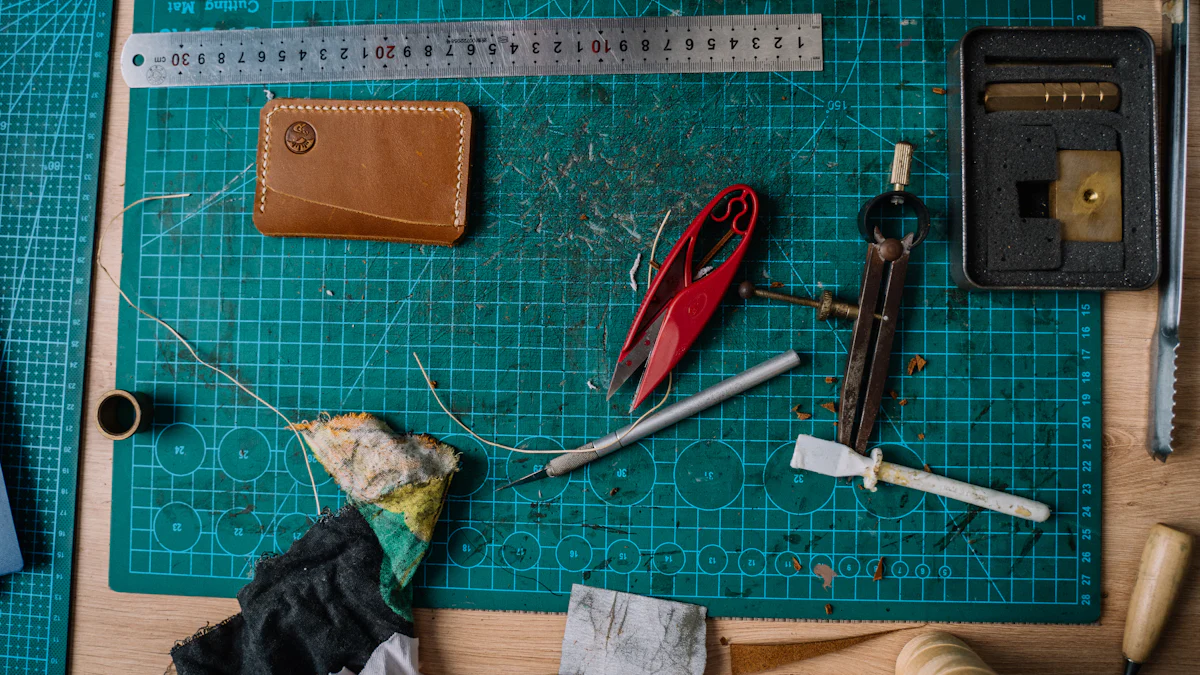
Essential Cricut Cutting Tools
Blades and Their Uses
Blades are crucial for effective crafting. The Fine-Point Blade handles intricate cuts on paper and vinyl. The Deep-Point Blade works well with thicker materials like chipboard. The Rotary Blade excels in cutting fabric without a backer material. The Knife Blade is perfect for dense materials like balsa wood. Each blade serves a specific purpose, enhancing the versatility of Cricut cutting tools.
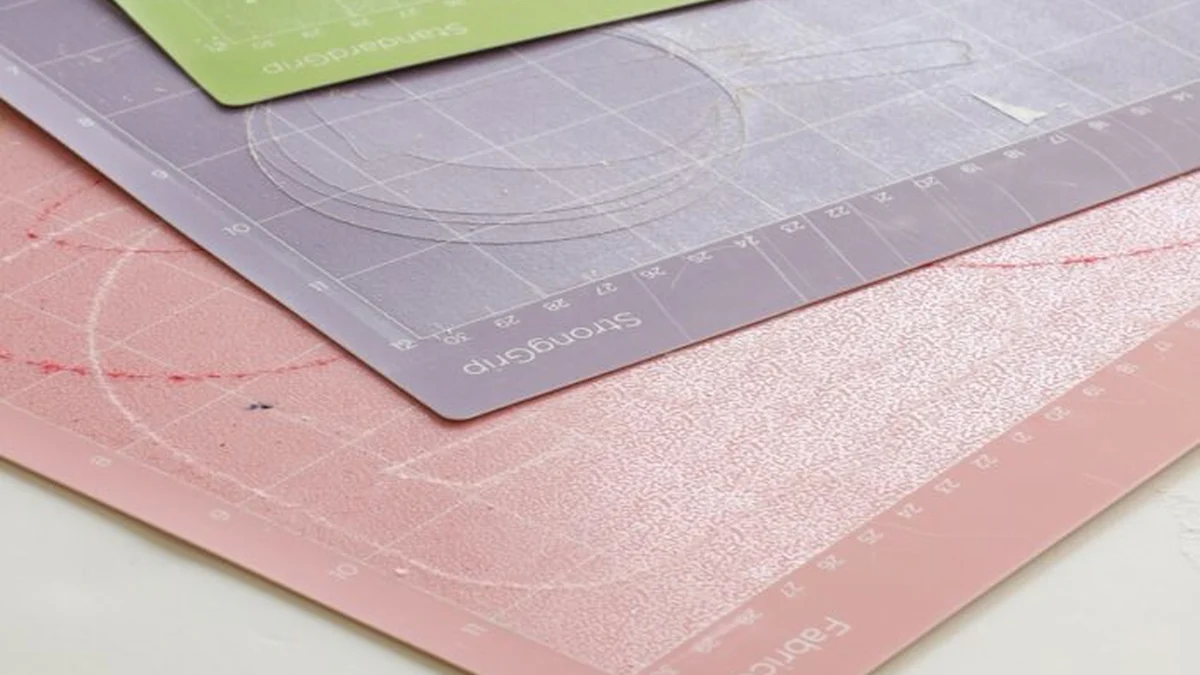
Mats and Their Types
Mats hold materials in place during cutting. The StandardGrip Mat works well with medium-weight materials like cardstock. The LightGrip Mat is ideal for lighter materials such as printer paper. The StrongGrip Mat handles heavy materials like chipboard and leather. The FabricGrip Mat is designed for fabric projects. Each mat type ensures optimal performance for different crafting needs.
Setting Up Your Cricut Machine
Unboxing and Initial Setup
Unboxing your Cricut machine marks the start of your crafting journey. Remove all packaging materials carefully. Place the machine on a stable surface. Plug in the power cord and turn on the machine. Follow the on-screen instructions for initial setup. Ensure that all components, including blades and mats, are present.
Connecting to Design Space
Connecting your Cricut machine to Design Space is essential. Download the Design Space software from Cricut’s website. Open the software and create an account. Connect your machine to your computer via USB or Bluetooth. Follow the prompts to complete the setup. Design Space allows you to create, customize, and send designs to your Cricut machine. This connection enables seamless crafting experiences.
Basic Techniques for Using Cricut Cutting Tools
Cutting Different Materials
Paper and Cardstock
Paper and cardstock are common materials for Cricut projects. Place the material on a LightGrip or StandardGrip mat. Ensure the material adheres well to the mat. Select the appropriate material setting in Design Space. Load the mat into the Cricut machine. Press the “Go” button to start cutting. Remove the mat after the cut completes. Carefully peel off the paper or cardstock.
Vinyl and Iron-On
Vinyl and iron-on materials offer endless creative possibilities. Place the vinyl on a StandardGrip mat with the shiny side down. For iron-on, place the material with the shiny side facing the mat. Select the correct material setting in Design Space. Load the mat into the Cricut machine. Press the “Go” button to start cutting. Remove the mat after the cut completes. Weed the excess material using a weeding tool. Apply the vinyl or iron-on to your project surface.
Using the Scoring Tool
Creating Fold Lines
The scoring tool creates precise fold lines. Insert the scoring stylus or wheel into the Cricut machine. Place the material on a StandardGrip mat. Select the appropriate material setting in Design Space. Load the mat into the Cricut machine. Press the “Go” button to start scoring. Remove the mat after the scoring completes. Fold along the scored lines for crisp, clean folds.
Projects That Require Scoring
Scoring enhances many projects. Create greeting cards with perfect folds. Make 3D paper crafts with precise edges. Design custom envelopes with neat creases. Use the scoring tool for any project that needs fold lines. Elevate your crafting game with these expert tips.
Using the Weeding Tool
Removing Excess Material
Weeding removes unwanted material from your design. Use the weeding tool to lift the excess material. Start from the corner and work inward. Remove small pieces carefully to avoid tearing. Use a light touch for intricate designs. The weeding tool helps achieve flawless designs.
Tips for Effective Weeding
Effective weeding requires patience and precision. Use good lighting to see fine details. Keep the weeding tool sharp and clean. Work slowly to avoid mistakes. Use tweezers for tiny pieces. Practice makes perfect. Unlock endless creativity with these Cricut tips.
Advanced Tips and Tricks
Customizing Your Projects
Using Design Space Features
Design Space offers powerful tools for customization. Use the “Slice” tool to cut out shapes from other shapes. The “Weld” tool combines multiple shapes into one. The “Attach” tool keeps elements in place during cutting. Explore the “Contour” tool to hide or show parts of a design. Experiment with these features to create unique designs.
Adding Personal Touches
Personal touches make projects special. Add names or initials to designs. Use different fonts to create a unique look. Incorporate images or patterns that reflect personal style. Mix and match colors for a vibrant effect. Customization adds a personal flair to every project.
Maintenance and Care of Cricut Tools
Cleaning Blades and Mats
Regular cleaning ensures optimal performance. Use a lint roller to clean mats. Remove debris from blades with a soft brush. For stubborn residue, use rubbing alcohol on a cloth. Clean tools after each use to maintain precision. Proper care extends the life of Cricut tools.
Storing Tools Properly
Proper storage keeps tools in good condition. Store blades in their protective caps. Keep mats flat to avoid warping. Organize tools in a dedicated storage case. Avoid exposing tools to extreme temperatures. Proper storage ensures tools are ready for use.
Troubleshooting Common Issues
Cutting Problems
Cutting problems can frustrate any crafter. Ensure the blade is sharp and clean. Check the material setting in Design Space. Calibrate the machine regularly for accurate cuts. Test materials before starting a project. Follow these tips for clean and precise cuts.
Expert Tip: “Getting clean and precise cuts is essential for flawless designs. Follow these tips to achieve cutting perfection: Choose the Right Blade, Test Your Materials, Calibration is Key.” — Craft Room Time
Connectivity Issues
Connectivity issues can disrupt crafting sessions. Ensure the machine is within range of the computer. Check the USB or Bluetooth connection. Restart the machine and computer if issues persist. Update the Design Space software regularly. Resolve connectivity issues for a seamless crafting experience.
Mastering Cricut cutting tools opens up endless creative possibilities. Practice regularly to improve your skills and experiment with different materials and techniques. Join Cricut communities for support and inspiration. Fellow crafters share valuable tips and solutions to common issues. Embrace the journey and enjoy the process of creating unique projects. Happy crafting!
See Also
Scooter Upgrades: High-Quality Parts for Optimal Performance
Winter Bliss: Snug Comfort with Soft Towel Socks
Diving into Diverse Sock Options for All Genders