
The Sonic Screwdriver stands as a multifunctional tool in the British science fiction television program Doctor Who. This device has captured the imagination of fans worldwide. The Doctor uses it for various tasks, making it an iconic symbol of the show.
Crafting a custom Sonic Screwdriver offers a unique way to connect with this beloved series. A personalized version allows for creative expression and adds a special touch to any collection. Building one provides both a fun project and a deeper appreciation for the ingenuity behind the original design.
Gathering Your Materials for a Custom Sonic Screwdriver

Essential Components
Core body materials
Start with the core body materials for your custom sonic screwdriver. Aluminum, brass, and wood work well for this project. A piece of 1 1/4″ diameter hardwood dowel serves as a sturdy base. Order aluminum and brass round stock from Online Metals. A small section of 1/2″ diameter acrylic tube adds a sleek touch.
Electronic components
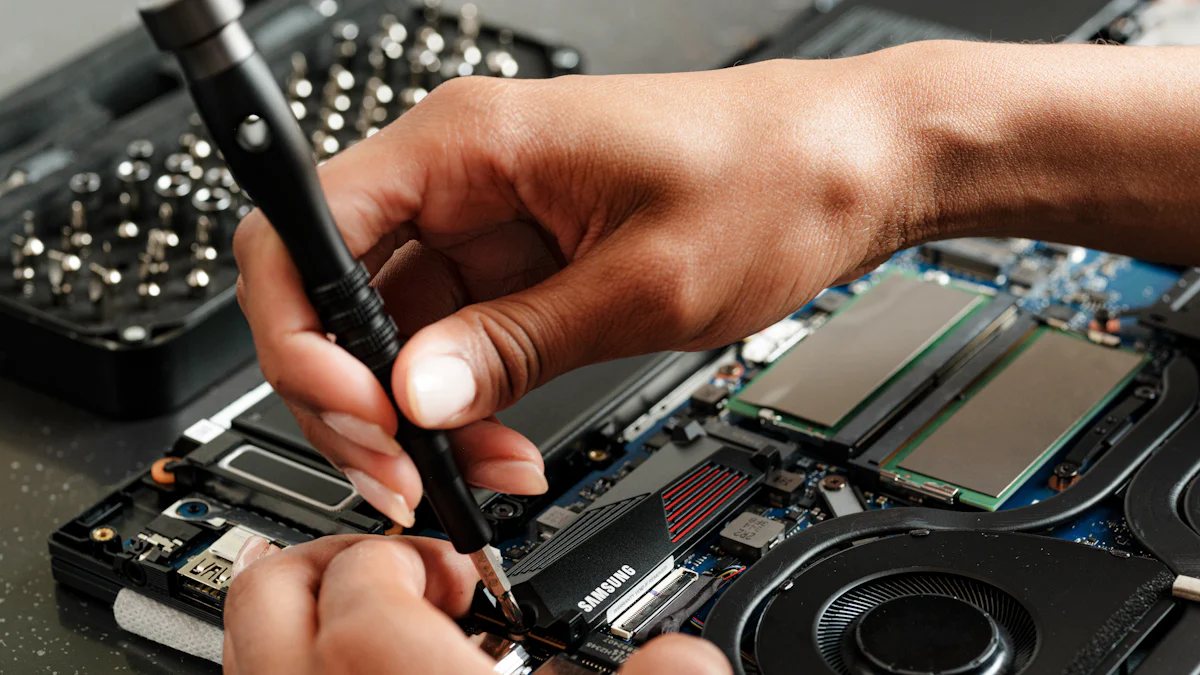
Electronic components bring your custom sonic screwdriver to life. Gather LEDs, resistors, and a small speaker. Include a microcontroller like an Arduino Nano. Batteries power the device. Use a rotary tool with a cutting wheel and a thin drill bit for precise work.
Decorative elements
Decorative elements personalize your custom sonic screwdriver. Paint and decals add flair. Brass details enhance the look. Consider using 3D printed resin or hand-cast resin for unique pieces. Attach these elements with strong adhesive.
Optional Add-ons
Advanced electronic features
Advanced electronic features elevate your custom sonic screwdriver. Add accelerometers, altitude sensors, and GPS sensors. These components create a more interactive experience. Modify pre-existing sonic screwdriver circuits for quick customization.
Custom paint and finishes
Custom paint and finishes complete the look. Choose a color scheme that reflects your style. Use high-quality paints for durability. Apply a clear coat to protect the finish. Experiment with different techniques for a unique appearance.
Designing Your Custom Sonic Screwdriver
Conceptualizing Your Design
Drawing your design
Begin by sketching the custom sonic screwdriver. Use a pencil and paper to outline the shape and features. Focus on the main body, emitter, and handle. Add details like buttons and lights. A clear drawing helps visualize the final product.
Choosing a color scheme
Select a color scheme for the custom sonic screwdriver. Consider colors that reflect personal style. Popular choices include metallic shades like silver and gold. Bright colors like blue or green add vibrancy. Test different combinations on paper before making a decision.
Planning the Build
Creating a parts list
Create a detailed parts list for the custom sonic screwdriver. Include core materials like aluminum and brass. List electronic components such as LEDs and microcontrollers. Add decorative elements like paint and decals. A comprehensive list ensures nothing gets overlooked.
Setting up your workspace
Set up a dedicated workspace for building the custom sonic screwdriver. Choose a well-lit area with ample space. Organize tools and materials for easy access. Ensure safety equipment like goggles and gloves are available. A tidy workspace enhances efficiency and safety.
Building Your Custom Sonic Screwdriver
Assembling the Core Body
Cutting and shaping materials
Begin by cutting the core materials for your custom sonic screwdriver. Use a rotary tool to cut aluminum, brass, and wood. Ensure precise measurements for each piece. Sand the edges to smooth out any rough spots. Shape the materials according to your design sketch.
Assembling the main structure
Assemble the main structure of the custom sonic screwdriver. Start with the core body. Attach the aluminum and brass pieces to the hardwood dowel. Use strong adhesive to secure the parts. Allow the adhesive to dry completely before proceeding. Check for stability and make adjustments if needed.
Installing Electronics
Wiring the components
Install the electronic components in the custom sonic screwdriver. Begin with the microcontroller. Solder the LEDs, resistors, and small speaker to the microcontroller. Connect the batteries to power the device. Use heat shrink tubing to cover exposed wires. Ensure all connections are secure.
Testing the electronics
Test the electronics before final assembly. Power on the custom sonic screwdriver. Check that the LEDs light up and the speaker emits sound. Verify that all sensors function correctly. Troubleshoot any issues that arise. Make necessary adjustments to ensure everything works properly.
Adding Decorative Elements
Painting and finishing touches
Apply paint to the custom sonic screwdriver. Choose colors that match your design. Use high-quality paint for a durable finish. Apply multiple coats for even coverage. Allow each coat to dry thoroughly. Finish with a clear protective coat to seal the paint.
Attaching decorative pieces
Attach decorative pieces to complete the custom sonic screwdriver. Use 3D printed resin or hand-cast resin elements for unique details. Secure these pieces with strong adhesive. Add decals or other embellishments as desired. Ensure all decorative elements are firmly attached.
Final Presentation and Tips
Showcasing Your Finished Custom Sonic Screwdriver
Taking photos and videos
Capture high-quality photos and videos of the custom sonic screwdriver. Use a well-lit area to highlight the details. Experiment with different angles to showcase the craftsmanship. A close-up shot can emphasize intricate designs. A video can demonstrate the electronic features in action.
Sharing on social media
Share the creation on social media platforms. Use hashtags like #CustomSonicScrewdriver and #DoctorWhoDIY to reach a wider audience. Join communities like TheRPF Forums to connect with other enthusiasts. Encourage followers to share their own builds. Engage with comments and feedback to foster a sense of community.
Additional Tips and Tricks
Maintenance and care
Regular maintenance keeps the custom sonic screwdriver in top condition. Clean the exterior with a soft cloth to remove dust. Check electronic components periodically to ensure they function properly. Replace batteries as needed to maintain performance. Store the screwdriver in a safe place to prevent damage.
Ideas for future upgrades
Consider future upgrades to enhance the custom sonic screwdriver. Add new electronic features like motion sensors or sound effects. Experiment with different materials for a unique look. Create interchangeable parts for a modular design. Continuously improve the build to keep the project exciting and fresh.
Crafting a custom Sonic Screwdriver involves several steps. Gathering materials, designing, building, and adding final touches create a unique project. Each stage offers a chance to learn and experiment.
Reflecting on this project brings back memories. My son Colin dressed as the Doctor for Halloween. I cobbled together a Sonic Screwdriver from garage junk. My younger son Sam wanted one too, but functional. This journey taught me patience and creativity.
I encourage readers to share their creations. Post photos and videos. Use hashtags like #CustomSonicScrewdriver. Join online communities. Celebrate the joy of making something special.
See Also
Scooter Upgrades: High-Quality Parts for Optimal Performance
Discovering Diverse Sock Options for Both Genders
Mastering Winter Comfort with Soft and Cozy Towel Socks