
 Upgrading your iMac with a solid-state drive (SSD) is a game-changer. The performance improvement is nothing short of spectacular, providing instant app launches and seamless file transfers. As an iMac user myself, I’ve experienced this firsthand. With the added speed and efficiency of an SSD, your iMac will remain fast enough for your needs, extending its lifespan significantly. This tutorial will guide you through the process, ensuring a smooth upgrade experience for your beloved iMac.
Introduction to SSD Upgrade
Why Upgrade Your iMac SSD?
The difference between an iMac with a traditional hard disk drive (HDD) and one with a solid-state drive (SSD) is like night and day. The speed and storage benefits of upgrading to an SSD are truly transformative. With significantly faster boot times, quicker application launches, and improved overall system responsiveness, the performance improvement is nothing short of spectacular. Apps launch instantaneously, file transfers are a breeze, and the entire system keeps up with workflow without breaking a sweat. This upgrade ensures that your iMac remains relevant in today’s fast-paced digital world.
Tools You’ll Need
When it comes to upgrading your iMac’s SSD, having the right tools is crucial. One of the most important tools you’ll need for this process is the T9 screwdriver. This specialized tool is essential for removing Torx screws that secure various components inside your iMac. Its precise design allows you to handle intricate tasks with ease, ensuring that you can safely access and upgrade your iMac’s internal components without causing any damage.
Preparing for the Upgrade
Safety First
When preparing for the SSD upgrade, safety should be your top priority. Disconnecting the power from your iMac is crucial to avoid any electrical mishaps. Start by shutting down your iMac and unplugging it from the power source. After that, press and hold the power button for 5 seconds to discharge any remaining electricity. This step ensures that you can work on your iMac without any risk of electric shock.
To further ensure safety, ground yourself by wearing an anti-static wristband or by touching a grounded metal object before proceeding with the upgrade. This prevents static electricity from damaging sensitive internal components of your iMac.
Opening the iMac
Now that you’ve taken all necessary safety precautions, it’s time to open up your iMac. The process begins with removing the display using a suction cup and plastic cards to carefully separate it from the adhesive strips holding it in place. Once the display is removed, you’ll need to locate and remove several Torx screws that secure the display assembly and other internal components.
Locating and Removing Torx Screws with the T9 Screwdriver
This is where the T9 screwdriver comes into play. The star-shaped recess of Torx screws requires a precise tool like the T9 screwdriver for easy removal without causing damage. With its ergonomic design and high-quality construction, the T9 screwdriver allows you to access these screws with precision and ease, ensuring that you can safely proceed with opening up your iMac without any complications.
Testimonial:
The Infinite Loop: “Ready for your iMac SSD upgrade? Here at The Infinite Loop, we’re experts at what we do, with almost 35 years of experience in Macs.”
By following these safety measures and utilizing essential tools like the T9 screwdriver, you’ll be well-prepared to embark on your iMac SSD upgrade journey.
The Upgrade Process
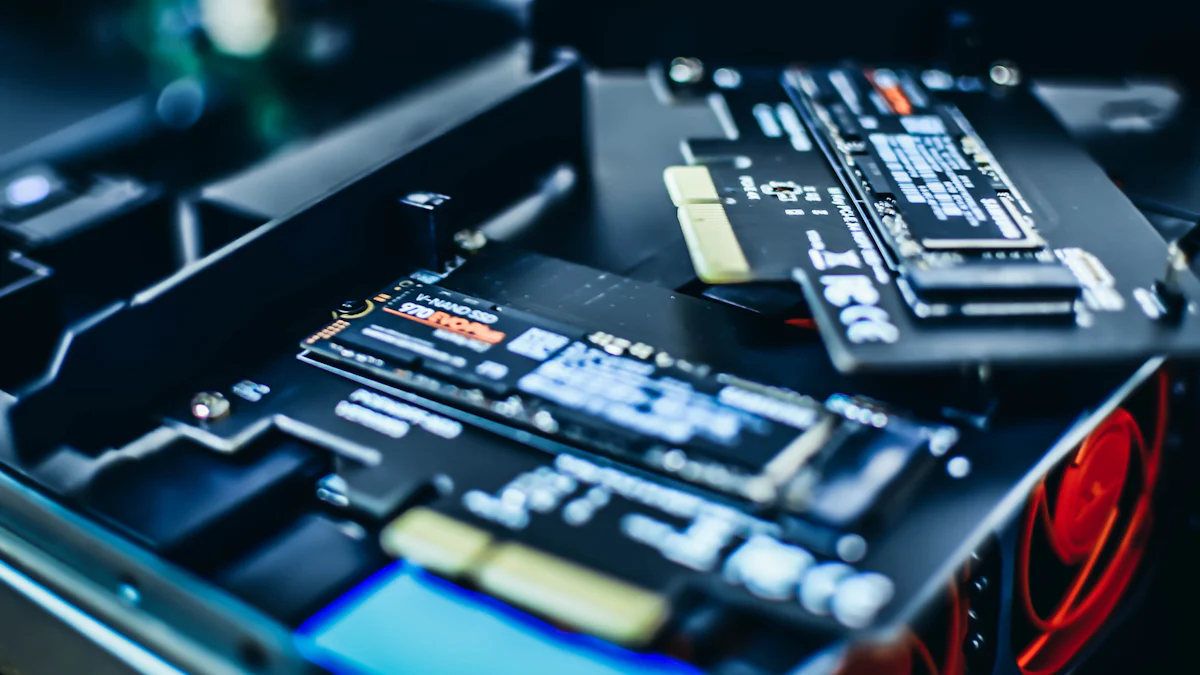
Removing the Old SSD
When it comes to replacing the old SSD in your iMac, precision is key. The first step is to carefully disconnect the cables connected to the old SSD, ensuring that you do so gently and without applying excessive force. This prevents any damage to the connectors and ensures a smooth transition to the new SSD.
Using the T9 Screwdriver for Precision
The star-shaped recess of Torx screws requires a specialized tool like the T9 screwdriver for their removal. With its ergonomic handle and perfectly sized tip, the T9 screwdriver allows you to unscrew with accuracy, avoiding any potential slippage or damage to surrounding components. It’s essential to use this tool with care and attention to detail, ensuring that each screw is removed smoothly and safely.
Installing the New SSD
Now that you’ve successfully removed the old SSD, it’s time to install the new one. Begin by gently connecting the cables from your iMac to the new SSD, making sure they are securely in place. Take your time during this process to avoid any accidental disconnections or misalignments.
Securing the Drive with the T9 Screwdriver
Once all connections are secure, use your trusty T9 screwdriver again—this time for securing the new SSD in place. The precise fit of this tool ensures that each screw can be fastened without causing any damage or misalignment. By using controlled force and paying attention to detail, you can guarantee that your new SSD is firmly secured within your iMac.
Expert Tip:
Apple Support: “When installing a new drive in your iMac, always ensure that all connections are secure before proceeding with securing it in place.”
By following these steps with precision and care, you’ll successfully remove and install an SSD in your iMac using your reliable T9 screwdriver as an indispensable tool throughout this upgrade journey.
Final Thoughts
Testing Your New SSD
Once the installation is complete, it’s crucial to test your new SSD to ensure that everything works perfectly. Start by powering on your iMac and checking for the immediate improvements in boot time and application launches. If you notice a significant reduction in loading times and an overall increase in system responsiveness, then your new SSD is functioning as expected.
To further validate the performance of your new SSD, consider running benchmark tests to measure its read and write speeds. This will provide quantitative data on the enhanced performance of your upgraded iMac, giving you a clear picture of the tangible benefits brought about by the SSD installation.
Ensuring Everything Works Perfectly
After testing, verify that all applications and files are accessible without any issues. Pay close attention to any signs of lag or delays, as these could indicate potential compatibility or installation problems. By thoroughly assessing the functionality of your new SSD, you can confidently conclude whether the upgrade has been successful.
Care and Maintenance
Now that your iMac boasts a new SSD, it’s essential to prioritize its care and maintenance for long-term reliability. Regularly back up your important data to safeguard against unexpected hardware failures or system errors. Additionally, keep your iMac clean from dust and debris to prevent overheating and maintain optimal performance.
Keeping Your iMac and Tools in Top Shape
Proper storage of your T9 screwdriver and other tools is equally important. Store them in a dry environment away from moisture to prevent rusting or corrosion. By maintaining both your iMac and tools with care, you’ll ensure that they continue to deliver exceptional performance for years to come.